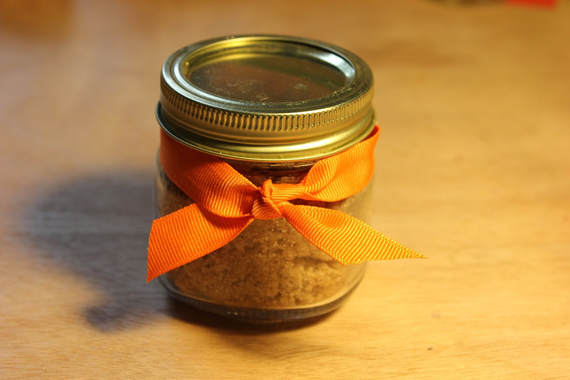
 Hello, everyone! I have unintentionally taken a looooong break from blogging, but I am back! I wanted to share with you this yummy sugar scrub recipe! Where I am, it's sweater weather already, and I am full of anticipation for fall and winter and the fun holidays that come with these seasons, Thanksgiving, Christmas, and everything in between! One of my favorite things about thanksgiving is the pies! I love making pies, and I love the spicy smell of cinnamon and cloves... mmmm! This sugar scrub smells amazingly like pumpkin pie, yet contains no pumpkin. The spices work together to remind you of the pumpkin. Trust me- you'll be tempted to eat this sugar scrub! I have posted previously about sugar scrubs: https://flalamingo.weebly.com/flalamingo/diy-sugar-scrub-an-awesome-gift-great-for-your-skin This recipe is very similar, but is themed for fall! Enough explaining, Let's get making! Gatherto fill an 8oz jar: -1/4 cup coconut oil - 1 cup granulated sugar -1 tsp cinnamon -1/2 tsp nutmeg -1/2 tsp ground cloves -2 tsp vanilla Go!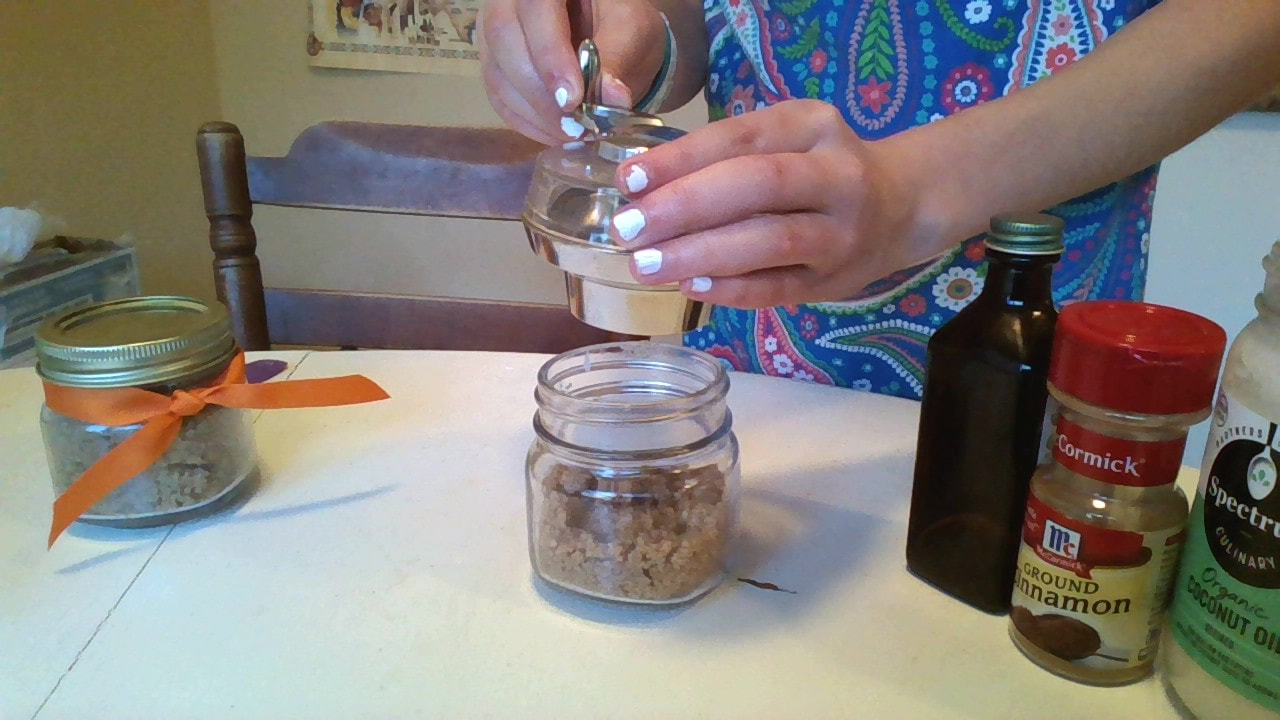 Simply mix together all ingredients and pour into an 8 oz glass jar!
This sugar scrub is SO easy to make, smells amazing, and keeps your hands soft! Use a tablespoon or so in the shower, or when washing your hands! Just rub it in, rinse it off, and enjoy soft skin!
3 Comments
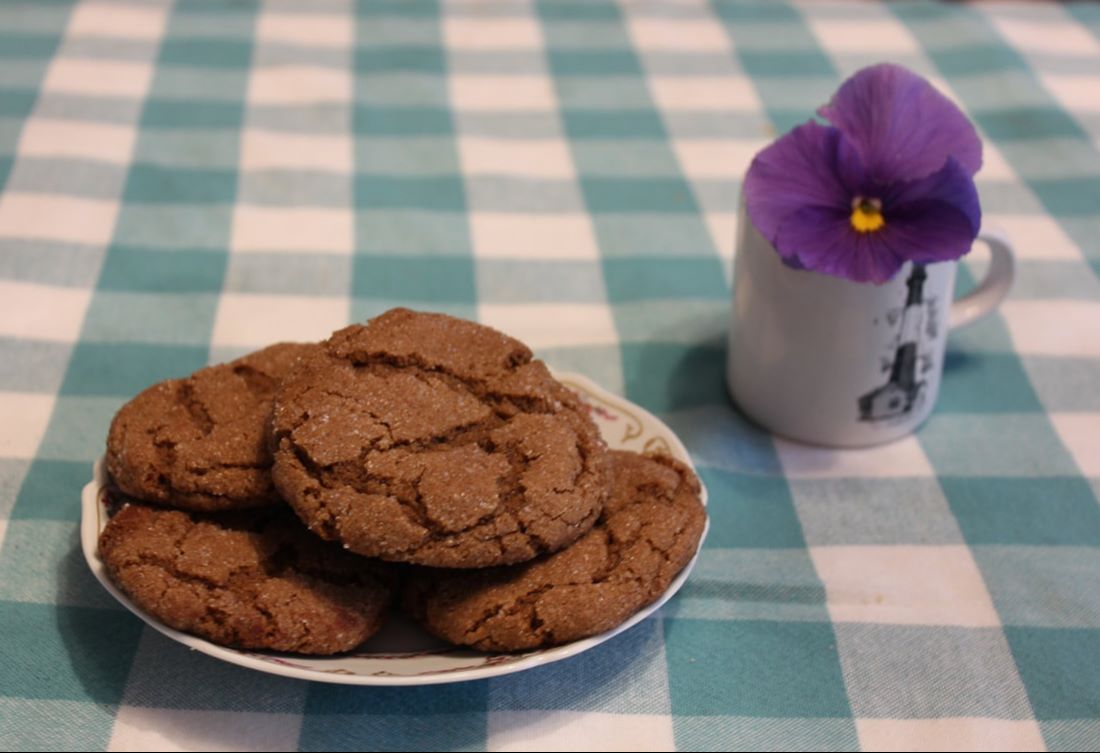 Happy Easter everyone! Or in French, Joyeux Paques! It's kinda-sorta spring where I am, I put out pansies, but it's a bit cold for them. Bulbs are starting to come up, and crocuses are blooming. I know that Gingersnaps have ABSOLUTELY NOTHING to do with Easter, or even spring for that matter, but I just made these cookies a few days ago, and I wanted to share this yummy recipe with you all. The recipe had been sitting in my recipe binder for several years, (I had printed it out on the whim that I would make them) and I had completely forgot about it! Then, this past Saturday, a friend and I were looking for something to do, and we looked through my recipe binder and decided to make these cookies. Turns out, they were the BEST cookies either of us had ever made! They were perfectly chewy, perfectly spiced. We ate SO many of them, relishing the chewy sweetness and the wonderful flavor from the cloves, ginger and cinnamon. The whole time we were making them, I was worried that I would accidentally leave something out, because when I am with friends and we are doing a project, I am bound to forget something. Even when I am sewing sometimes, and I am listening to an exhilarating audio book, occasionally I will sew something on backwards without knowing it! But back to the cookies, they were PERFECT. I think the secret ingredient was laughter. I am so sorry for not posting sooner this month! My ideal goal is to post once or twice a week, but lately I have been posting just once a month. I hope to do an Easter egg dyeing post, because I have a really neat idea for that! Anyway, here is the recipe! ingredients3/4 cup butter, softened (remember, ALWAYS use real butter!) 1/3 cup granulated sugar
instructionsPreheat oven to 375 degrees F. Line 2 cookie sheets with parchment paper. Beat sugars and butter until fluffy. Beat in molasses and egg. Add flour and the rest of the dry ingredients (except for the sugar + cinnamon at the end of the ingredient list set aside for rolling) and mix just until dough forms. Chill dough for 30 minutes. Combine the sugar and cinnamon for rolling in a small bowl. Once dough is chilled, roll into tablespoon sized balls and roll in the cinnamon sugar. Place on prepared cookie sheets about 1 1/2 inches apart. Bake for 9-11 minutes. Let cool, and enjoy!
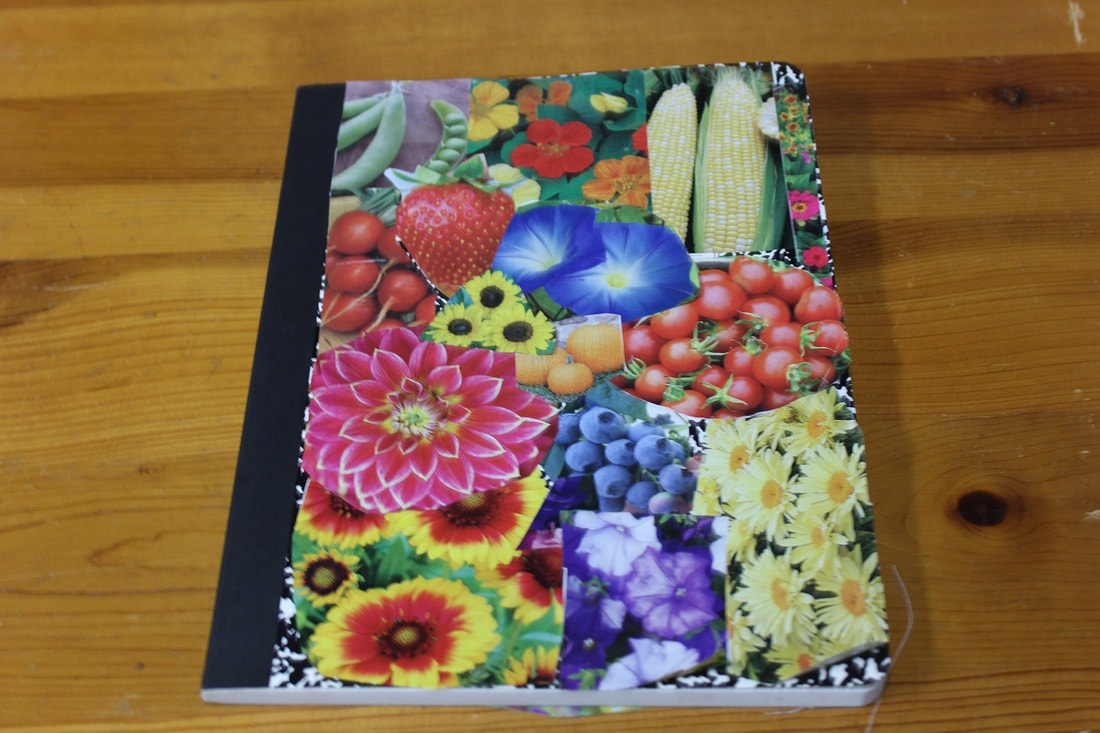 It's Garden bug season, and I have a bad case of it! I will be posting a few garden tutorials over the next few weeks, including how to start seedlings in Newspaper pots, How to make your own seed storage box, and more! Also, I know that I mostly do crafts and garden tutorials. Tell me in the comments what you would like me to post in the future! I am thinking about doing a 'Growing lemon trees from seed tutorial', as I enjoy getting citrus seeds to sprout and grow. Anyway, let's make a DIY Garden Journal. One question I can see people asking is what to write in your garden journal. I am creative, but sometimes I don't even know what to write in a beautiful new notebook. So far, in my garden journal, I have written the dates and of when I have started seedlings indoors, and I list any seeds or tools that I have bought at a garden center, and sometimes the costs. You can also draw interesting things that you see in the garden, and write nature poems, really the options are endless! All You Need1. Standard compostition notebook, (preferably not spiral-bound, but if you prefer spiral, then feel free to use that) can be any color or pattern. 2. Glue stick, or elmer's white glue 3. Scissors 4. Old seed and plant catalogs that you can cut up, or other pictures of vegetables and flowers... Optional: stickers, glitter glue, other glue on decorations All You DoCut out pictures from your plant and seed catalogs, and glue them on to your notebook! I covered my entire notebook collage style with pictures of vegetables, fruits and flowers that I wanted to grow.
You can also use stickers and other glue on decorations for extra fun. Now you can record planting dates, new plant species spotted, and pretty much anything! 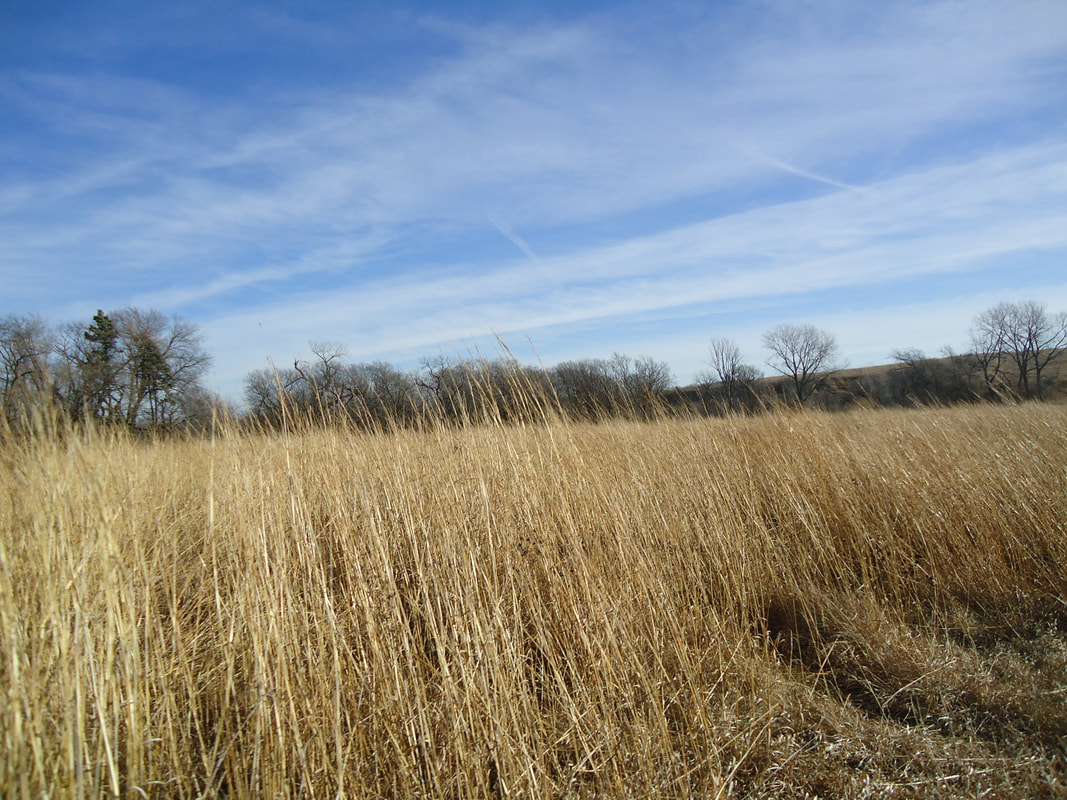 Yesterday, I went with our homeschool group to our local wild prairie! It's only half an hour away from town, and it is a beautiful place to go, and as I found out, it's beautiful in ALL seasons! Now before I went, I thought that it would just be muddy and windy and cold and brown all over, but there was a lot more to it than that! A few of my friends were there, and we discovered lots of amazing things! 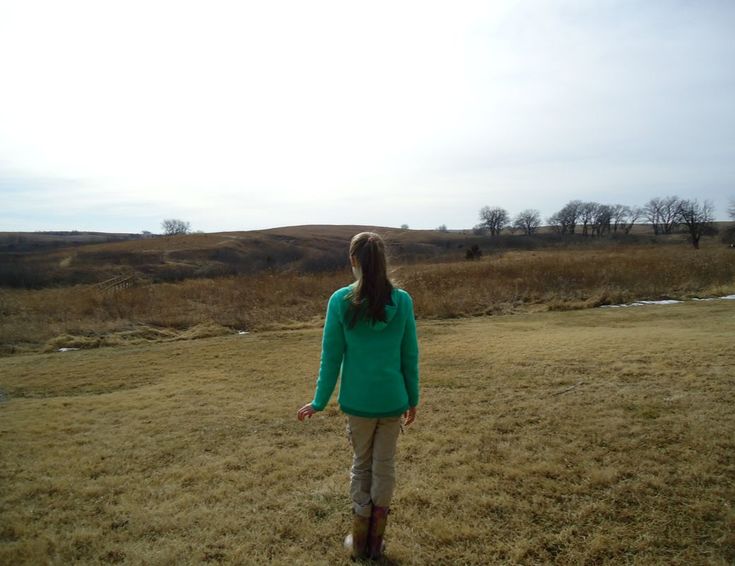 At 11 am, we arrived. It was pretty windy and chilly! Everything was completely silent, except for the wind and our own chatter. We could see a glimpse of our group kind of far off in the hills. We decided to explore the pond. the pond was frozen over, so thick that it was safe-ish to walk on the edges. I kind of wished that I had brought my ice skates, but the ice was REALLY bumpy, so that wouldn't be a good idea. Below: It was especially neat in the shallow areas to see the plants through the ice! 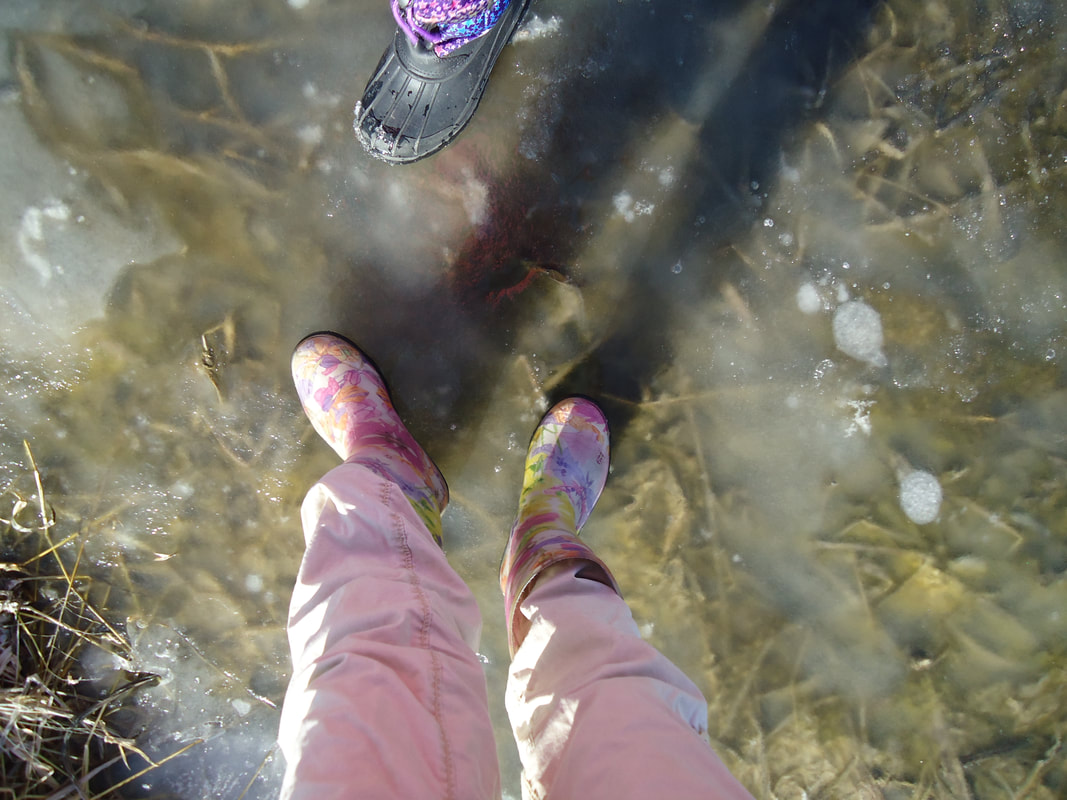 It would have been a beautiful scene to paint! Then we caught up with the group and soon learned that they had spotted a bald eagle! A real bald eagle! Can you believe that? Here is the beautiful icy pond: 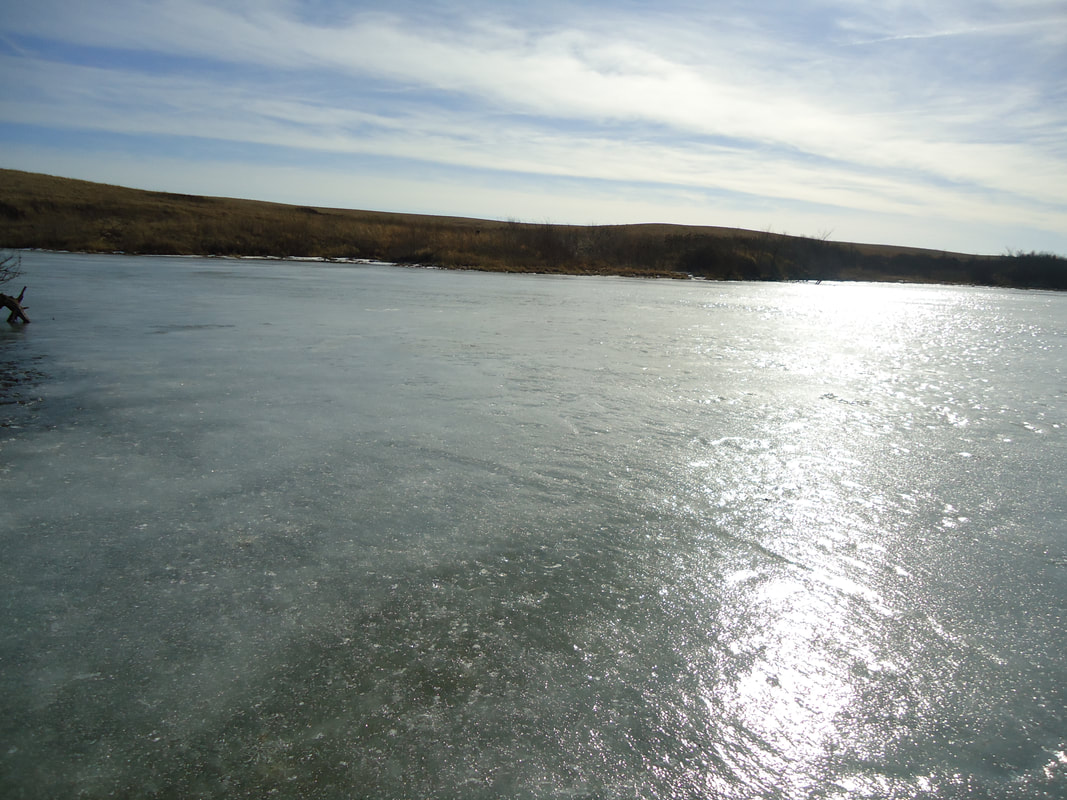 As we were walking along the edge of the frozen, beautiful pond, we saw hundreds (ok, at least 90) of EMPTY snail-like shells! We were not quite sure if they were from snails, or something else, but they were beautiful! Their colors ranged from pearl white to dark amber brown. What do you think they could be from? here is a close up of a few of them. 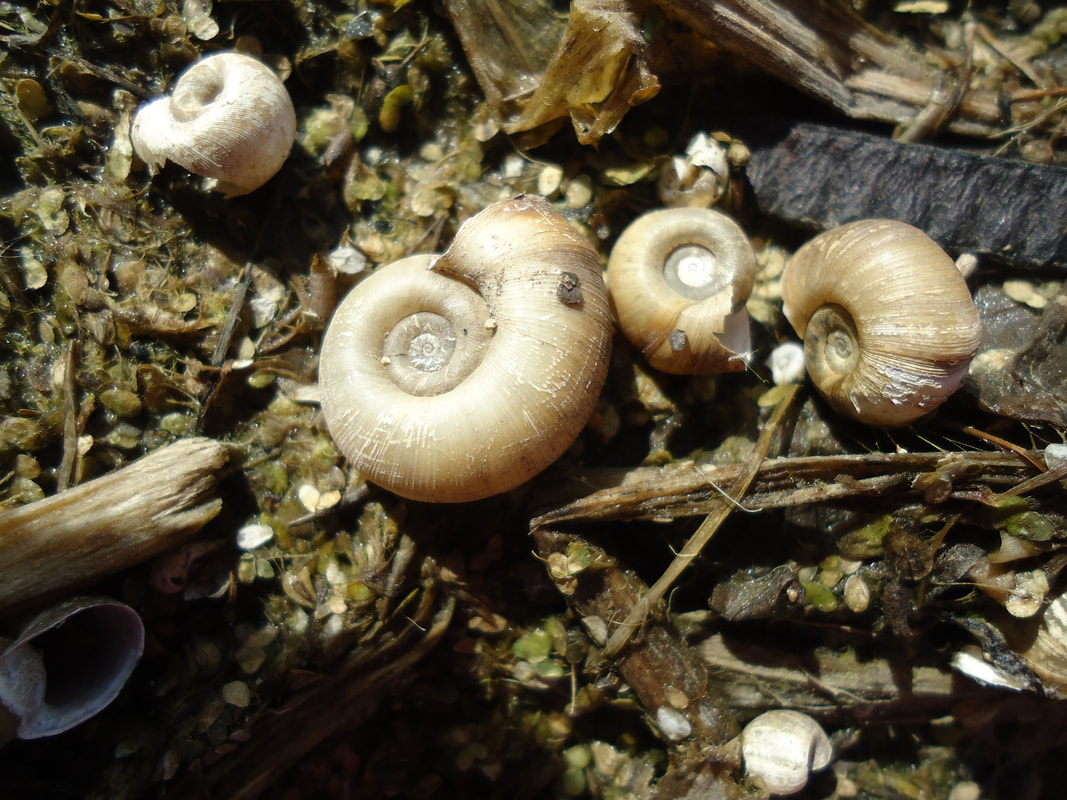 Then, everyone was starting to get a little cold, so we all went back inside the warm, inviting, visitor's center. My friends and I wrote some haiku's and poems about nature in a little reading nook.  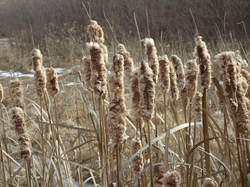 After that, we ran around on the trail some more, and my friend took this amazing picture of cattails. Look how fluffy they are! It reminds me of llama fur!
Anyway, that was my amazing day at the prairie. I hope you enjoyed this post! If you don't ever want to miss a post, go to the sidebar, enter your email, and click subscribe!!! Gardening posts coming soon! Comment your ideas, I would love to hear them! Well, Bye for now! -Flala 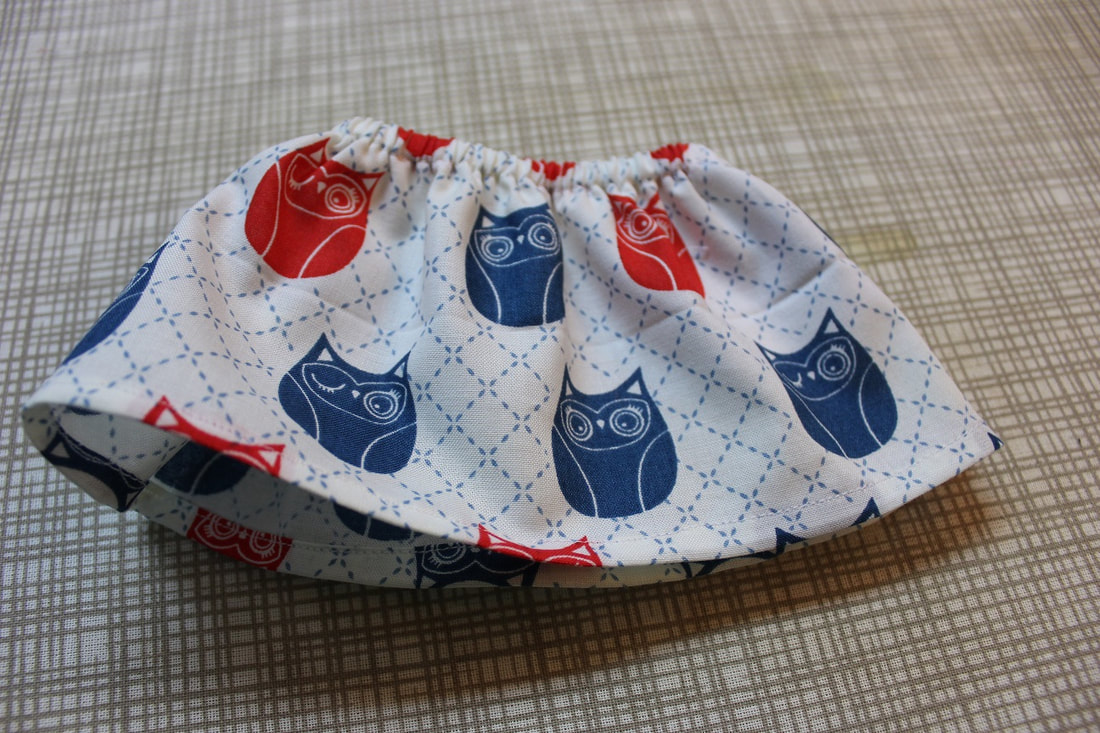 Hello, awesome blog readers! Again, I am sorry for not posting in a while! Today I'm making a cute skirt for Willa, my new Wellie wisher. This skirt will fit other 14.5ish inch dolls, even small stuffed animals! You can also make the skirt a few inches longer for a maxi skirt, or an inch or so shorter, and a little less wide for a mini skirt! If you have a favorite teddy bear, for example that you wish to make a skirt for, that has a larger waist, just cut a longer piece of elastic that is a little longer than your bear's waist measurement! the skirt will not be as full, but it's an easy way to make a skirt fit bigger dolls/animals. Tip: If you are making this for bigger dolls or stuffed animals, make sure to make the skirt a few inches longer if your doll is taller than 14.5". This is a great beginner project, it is great for practicing straight seams! If you don't have access to a sewing machine, you can sew the seams with a sturdy hand-sewn back-stitch. Feel free to experiment! You can also sew a fun trim to the bottom. Anyhoo, enough chitchat! Let's get started! 1. Cutting Your FabricCut 1 piece of fabric 22" by 4.5" Cut 1 piece of 1/4" wide elastic 7 1/2" long I like using fat quarters for this project because they are exactly 22" long! 2. Pressing Up the Hem & Waistband CasingHead to the ironing board to press back your hem and waistband casing! For the hem: press the fabric 1/8 inch away from your bottom edge, then press forward another 1/8 inch for a basic hem. For the Waistband Casing: Press just as you did for the hem, but press forward 3/8" and then press forward 3/8" again, pressing the first press over. After you do this, there should be no raw edge. 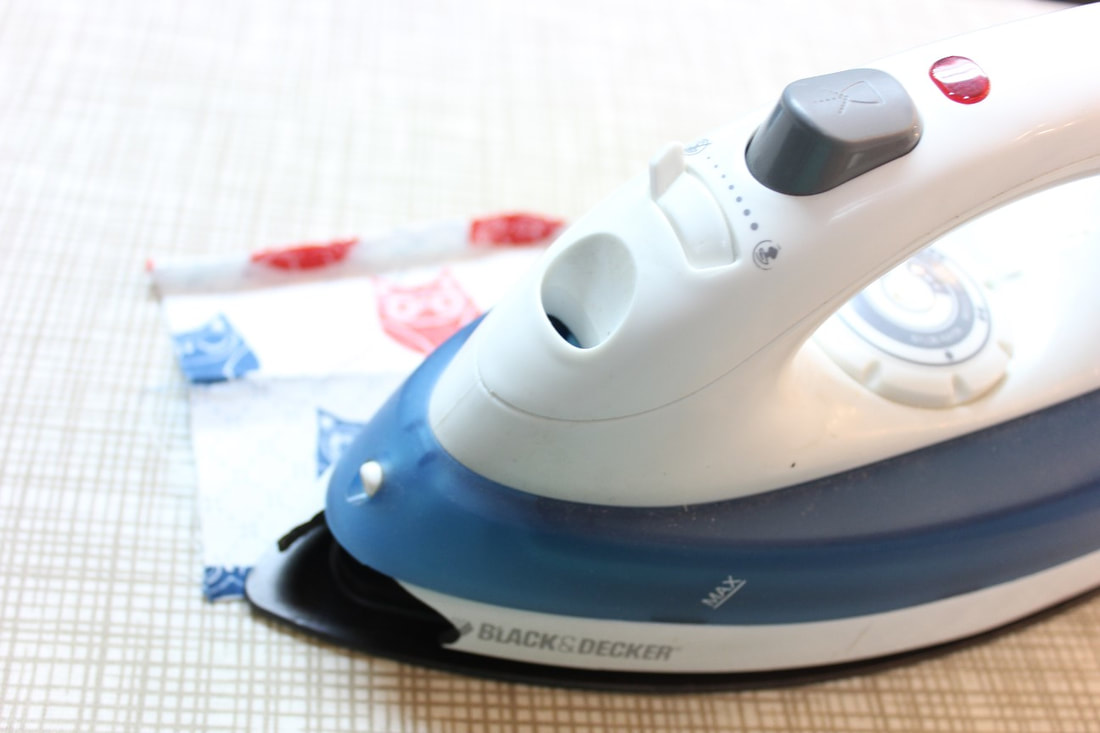 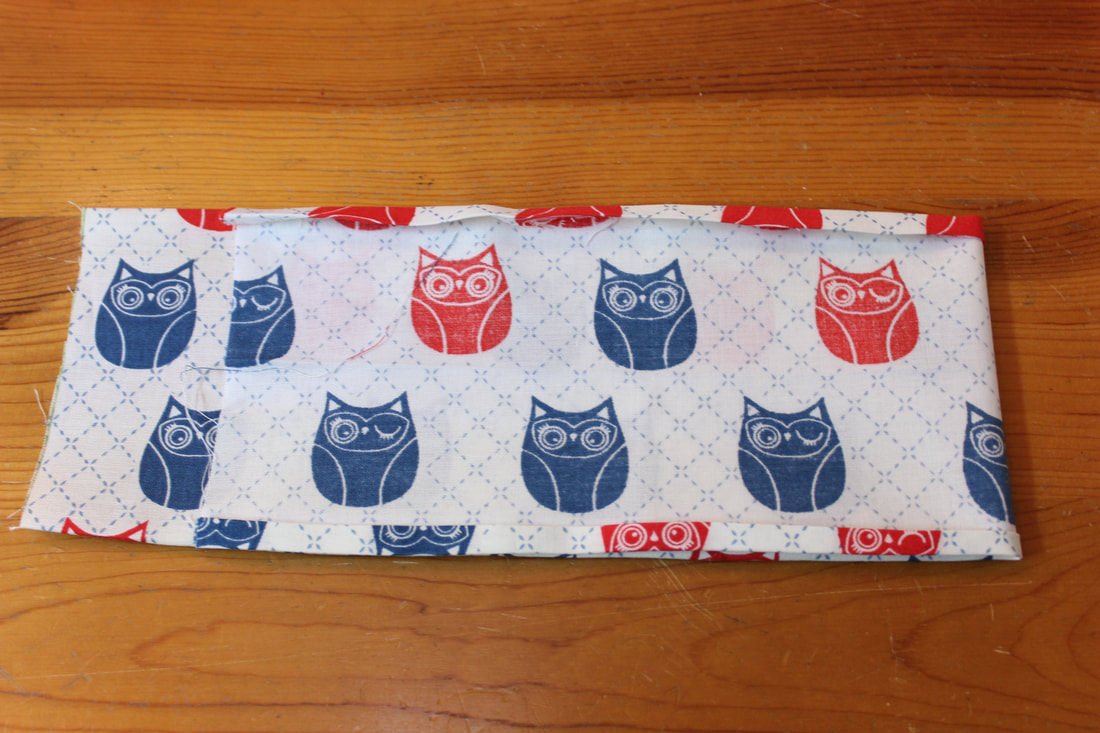 3. Sewing the Hem and Waistband CasingStitch the (pressed up) seams with your needle at the edge of the seam facing the middle of the fabric. 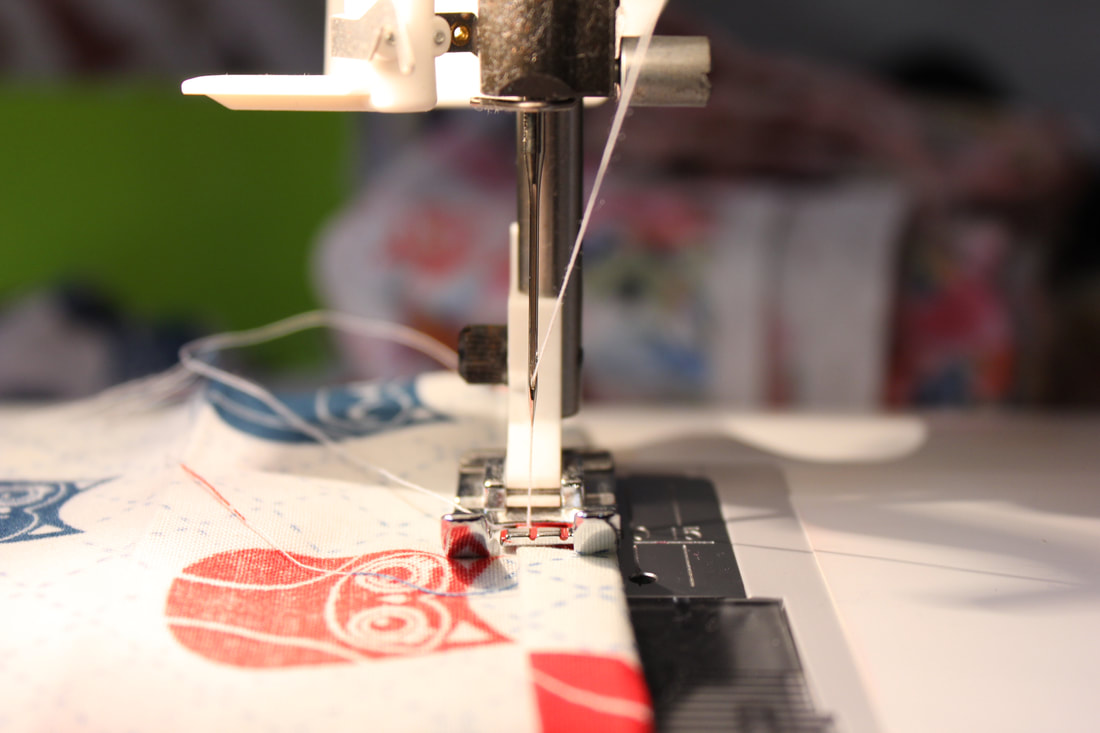 4. Inserting the ElasticAttach a safety pin to the end of your piece of elastic, and push it through the waistband casing. (not through the hem!) Since the fabric is so much longer than the elastic, the elastic could get lost in the fabric 'tunnel' so either hold the end of the elastic somehow, or be really careful! 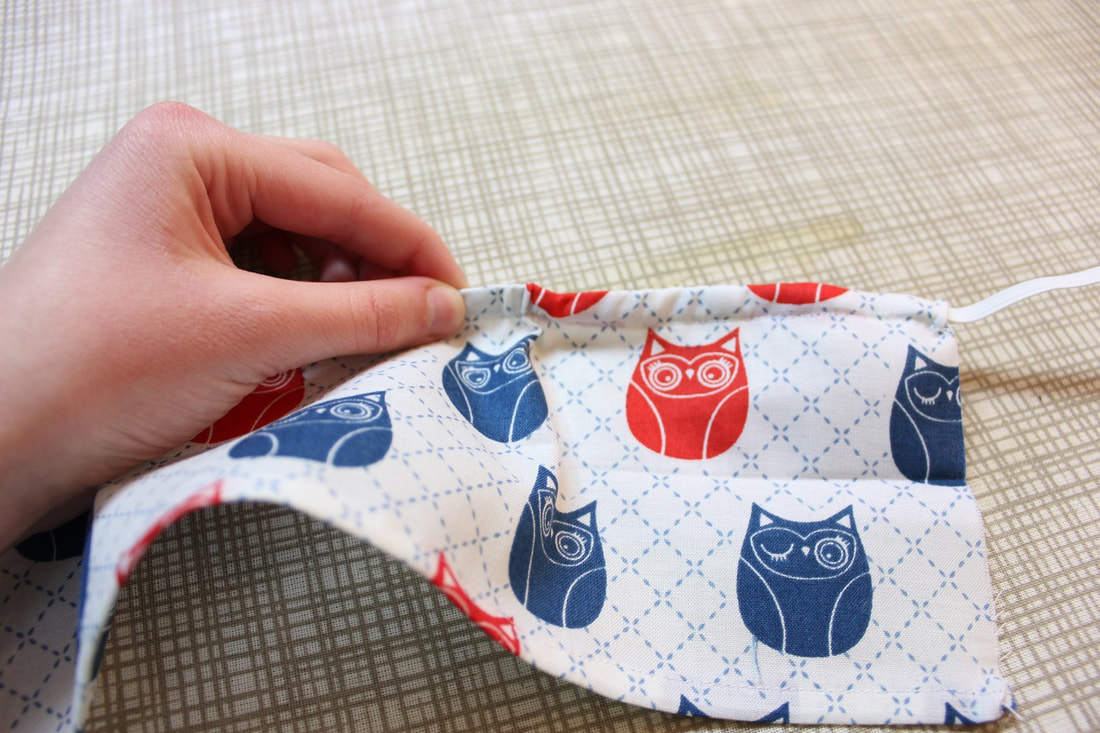 5. Sewing the Side SeamI like using an overlock/zigzag stitch for this step because it nicely finishes the edges, and it is so quick to do! If you can't do an overlock or zigzag on your machine, sew the seam with a straight stitch and then press it open when you are done with that. After you have pushed the elastic through, remove the safety pin, and leave the two elastic ends sticking out just a little bit so that they don't disappear into the casing. Now fold your fabric in half width-wise with the right sides together, and stitch THROUGH the elastic, to the bottom edge. (stitching through both layers of fabric with your presser foot on the edge of the fabric if you are using an overlock/zigzag stitch, or with a 1/4 inch seam allowance if you are just using a straight stitch) And now you have an extremely adorable doll skirt!  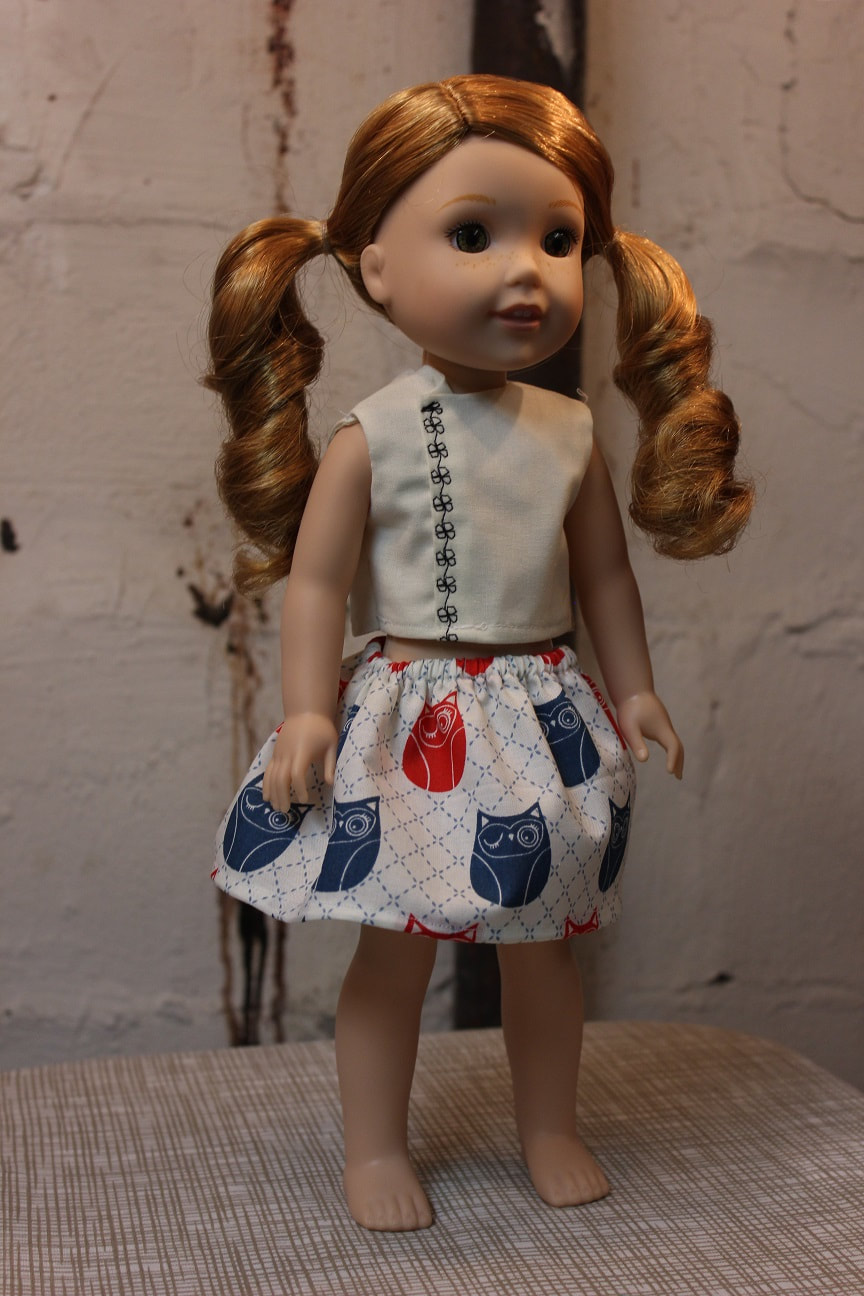 I hope this tutorial was helpful and useful as well as fun! Let me know if you liked it. Also, let me know what other kinds of things that you think I should sew! More posts soon,
-Flala. Happy New Year's Eve!I am SOOOOO sorry for not posting since May. Seriously, that's a terrible way to blog.
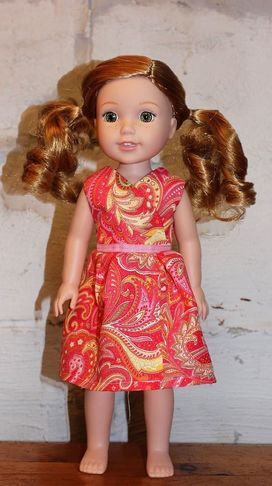
One of my New Year's resolutions, however is to be a better blogger, and do lots of interesting posts. I am also open to suggestions, so if you have a great idea, leave a comment down below and I will probably use your idea! Anyway, Christmas has just passed, and everything has kind of calmed down for most of us. If you know me pretty well... you will know that it's starting to be the time of year again when I get REALLY excited about spring gardening. You can be sure that in the New Year, I will be a bit better about posting. I am planning a post about the upcoming Seed Swap! (I talked about that last year.) This year was really big for me and my family. I got a new baby brother, I starred in my first 'big time' (meaning you have to audition for it) play, and I have just done a LOT this year. But, let's go back to talking about Christmas. For Christmas I got a Wellie Wisher! I wanted one so I could model the Wellie wisher clothes that I make and sell. I like dolls, but I don't really play with them, I make and sell clothes for them! I am planning to share some FREE pdf patterns for doll and stuffed animal clothes, so that you can make them for your dolls, or even for a little cousin or friend. Here is a pic of one of my handmade dresses on my new doll! Below is a button with the link to my etsy page, too. Look forward to new posts for the New Year soon! -Flala
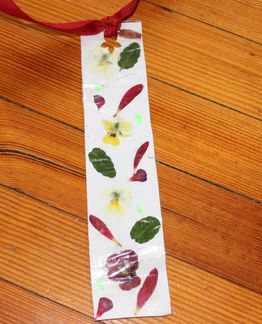
you'll need:Flowers, leaves and petals! I wouldn't recommend using daffodils, though. Ordinary paper Glue (you can use a glue stick, but I've found white glue to be easier to use for this kind of project.) Pen (optional, if you want to write a message on the bookmark.) Clear packing tape (for laminating the bookmark, and making sure the flowers don't come off!) Hole punch (I used a flower-shaped paper punch) Ribbon, 10" long (The ribbon and hole punch are optional, you don't have to have a ribbon tied on the bookmark) 2-3 big, heavy books such as dictionaries. You can also use big, flat rocks. Sheets of newspaper. (If you have a flower press, use that instead of the heavy books.) instructions:Cut the paper into a bookmark-size rectangle. Lay out the flowers as you want them to look on the bookmark. Now take your glue and glue each flower, leaf or petal into place. (if using white glue, only use a drop MAX for each flower. One of my friends learned this the hard way!) Now sandwich the bookmark between two sheets of newspaper or scrap paper. (something to keep your books from getting gluey!) And place books below and on top of the sandwich. Leave for 10-30 minutes. (it may take longer) Now carefully remove the books and newspapers. Hopefully you were wise with your glue use, and the newspaper didn't stick to the glue holding the flowers in place! Now is when you should write a message on the bookmark, if you want. Now cover the bookmark with packing tape. You could choose to be done after this step, or you could use your hole punch to punch a hole in the top of the bookmark and tie a ribbon around the hole. Yipee! A last-minute (but still special) mother's day present!
Happy Cinco de Mayo! This is among the easiest of card tricks to learn and perform, but it's still amazing! A member of your audience chooses a card from the deck, then returns it to the top of the pack before cutting it. You then spread out the cards face up and easily locate the one they chose. Ready to impress your friends? Okay, let's get started. This trick uses a normal deck of cards. 1. Shuffle your deck. Then take a peek at the bottom card, and remember it. Talk to your audience to distract them so that they don't see you peek at the bottom card. 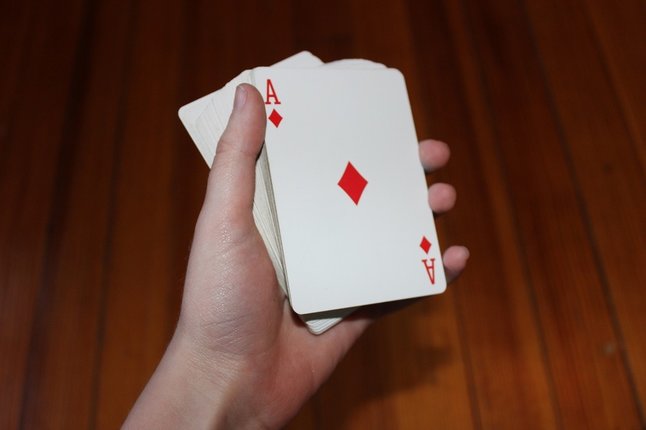 2. Fan out the deck face down and ask a volunteer to pick a card, show it to everyone else and remember it, and place it on top of the deck. 3. Then ask the volunteer to cut the deck, and place the bottom half on top. 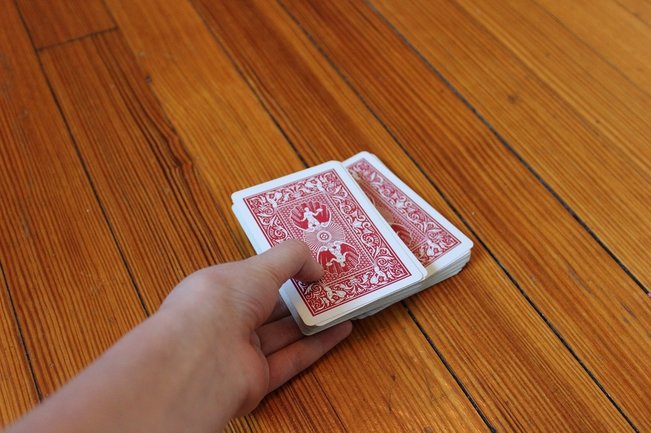 4. Flip the deck over so it's face up and spread out the cards on the table. The card that the volunteer chose should be to the right of the card that you peeked at. 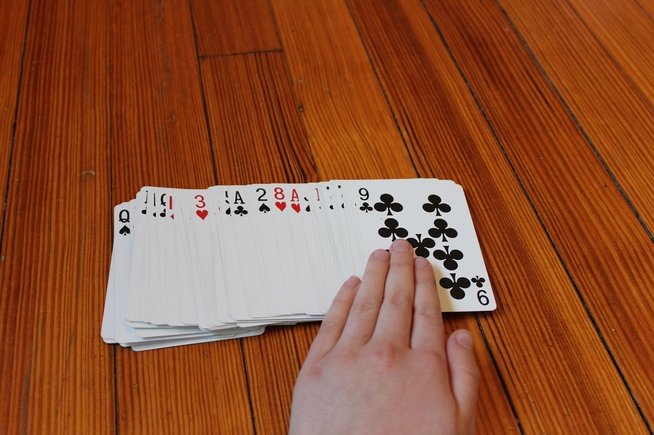 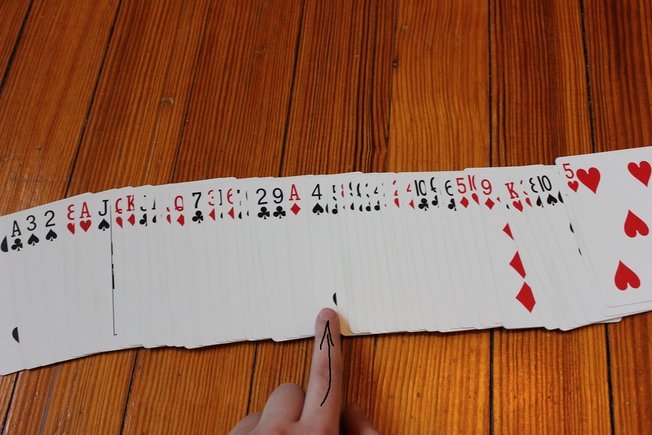 These are yummy little breads that one of my friends told me about. They are made with tapioca flour and mozzarella cheese. (I use part cheddar for more flavor) and is originally from Ecuador. The breads are about the size of cookies, and they are delicious and buttery and cheesy and chewy, especially when eaten straight from the oven! Mouth watering already? Good. Let's get started. 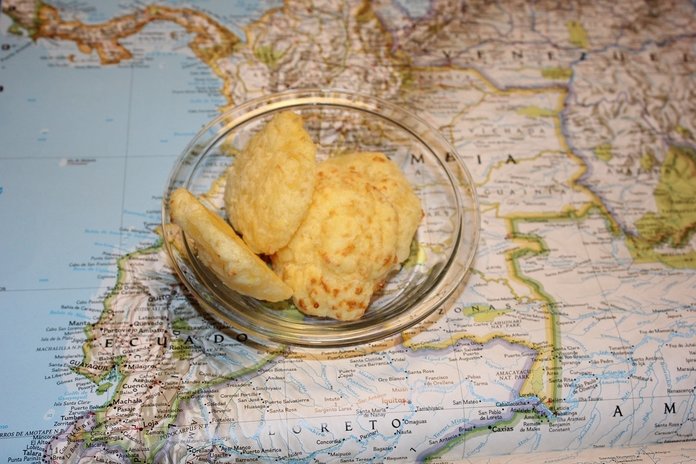 ingredients:2 1/2 cups of tapioca flour/starch 2 cups grated cheddar cheese 2 cups grated mozzarella cheese 1 tsp baking powder 1/2 tsp salt 1 stick of butter (1/2 a cup), melted 2 large eggs Optional: 2-4 tbs of milk if the dough does not stick together. make it!Combine the tapioca flour/starch, cheeses, baking powder and salt. Mix well. Add the butter and eggs. Mix until you have a smooth dough. (add some milk if it's too dry and crumbly) Refrigerate for 30 minutes. Preheat your oven to 500 degrees F.
Roll the dough into small balls, about the size of ping-pong balls. Place the balls on baking sheets with parchment paper. Turn on the broiler. Broil the breads for 5-7 minutes or until lightly brown. Let cool, and enjoy!
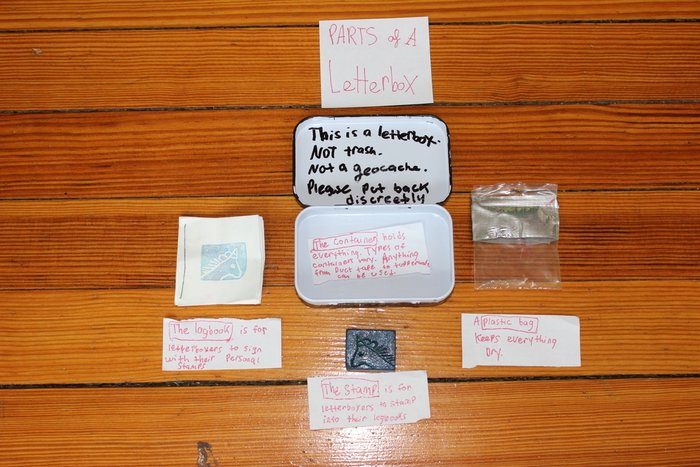
Letterboxing is a treasure hunt style activity that is played all over North America, and in some foreign countries. It is similar to geocaching, but instead of using coordinates, letterboxers use clues that are posted online, on one or both letterboxing websites. And instead of trading trinkets, letterboxers trade rubber stamp images. Most letterboxers carve their own stamps, including me. Everyone has their own favorite technique. Setting out and finding the letterbox is the most fun of all! Unless, of course the box is missing. Either way, you have to log your find on the website. You can either say that you couldn't find it, or that you found it. My logbook is full of stamps from places in my town I'd never have seen if it weren't for letterboxes! There are even small letterboxes that travel from box to box that are called hitchhikers. When you find 2 sets of stamps and logbooks, one is a hitchhiker and you have the option to take it to the next box that you find. Here's a link to the letterboxing website that I normally use: atlasquest.com
You can use letterboxing.org , but I've found that Atlasquest is more recent, and has letterboxes that are more recently listed and found, so they're less likely to be missing! Atlasquest also has helpful tutorials for beginners, and discussion forms, where you can ask for advice, or just talk about your favorite hobbies with other letterboxers. You can use the search tool below to find letterboxes in your area. Or just go to atlasquest.com
Below: the parts of a letterbox, and below that, my Signature stamp + logbook.
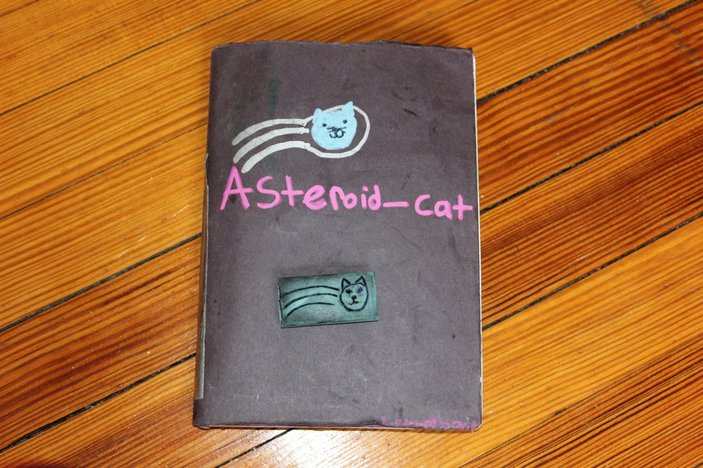
My trailname on AQ is Asteroid_Cat.
Get outside and get letterboxing today!
|

Hi there!I am a homeschooler who loves to do DIY projects, make new recipes, grow plants and discuss interesting stuff. Archives
September 2018
If you like my blog, copy and paste my button to yours!
 |