|
I said I would do a podcast in a previous post, but here it finally is!
The podcast is called Stripes and Doodles Hope you like it!
2 Comments
Here is a fun little Pig Latin Translator for you to try out! Yenjoyay!
Hello! Today I am going to tell you about my Easter, and how I decorated eggs. I decorated one beautiful egg. It took so much time but turned out really pretty. First, make a dotted-line circle on the top of the egg with a pin. 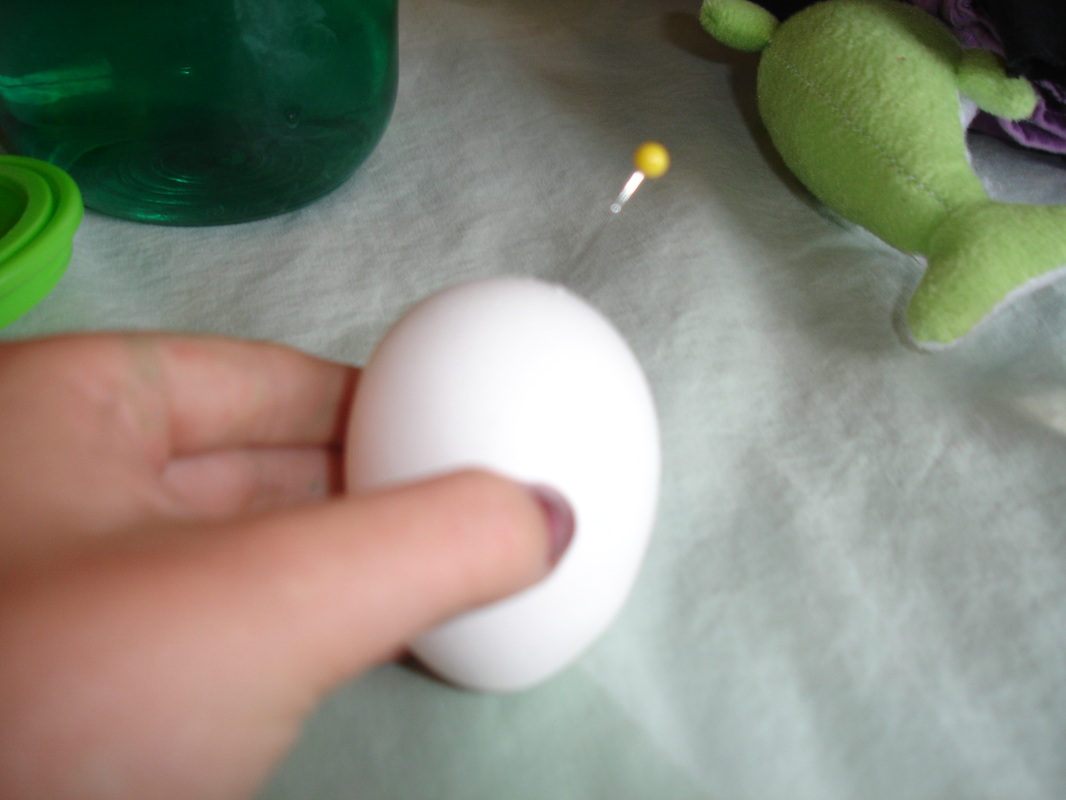 Then, punch out the circle and pour the contents of the egg into a plastic container. 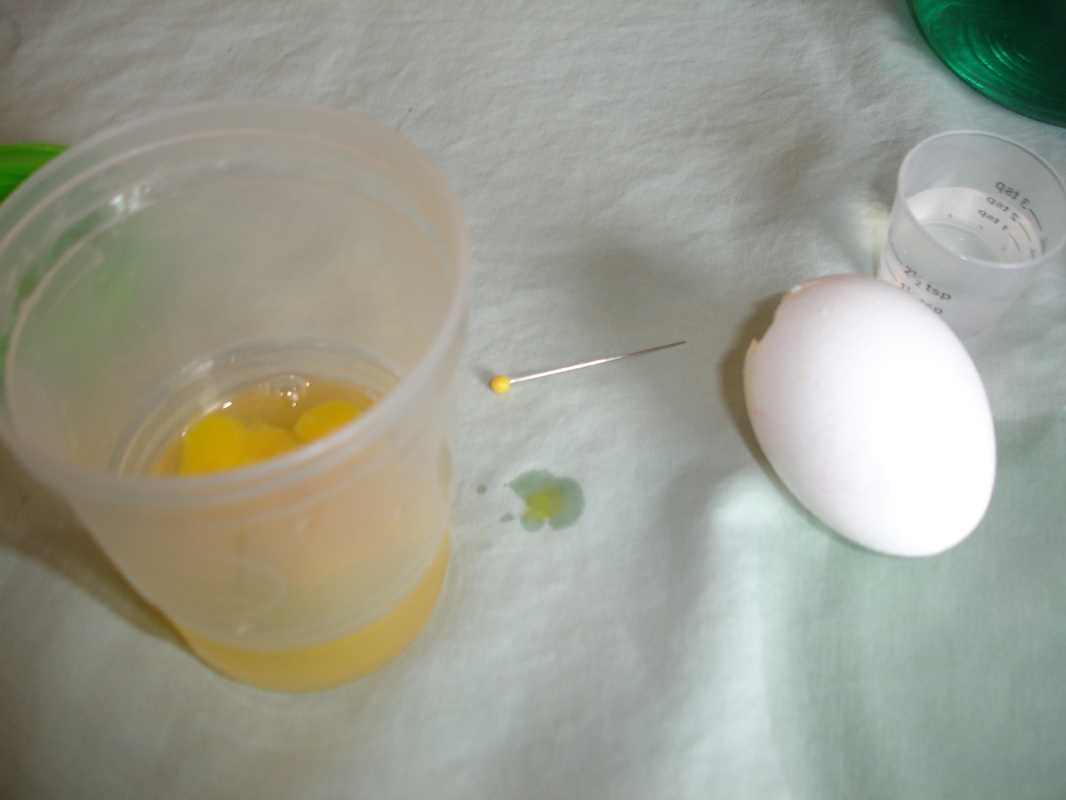 Rinse out the egg and get out your watercolors. 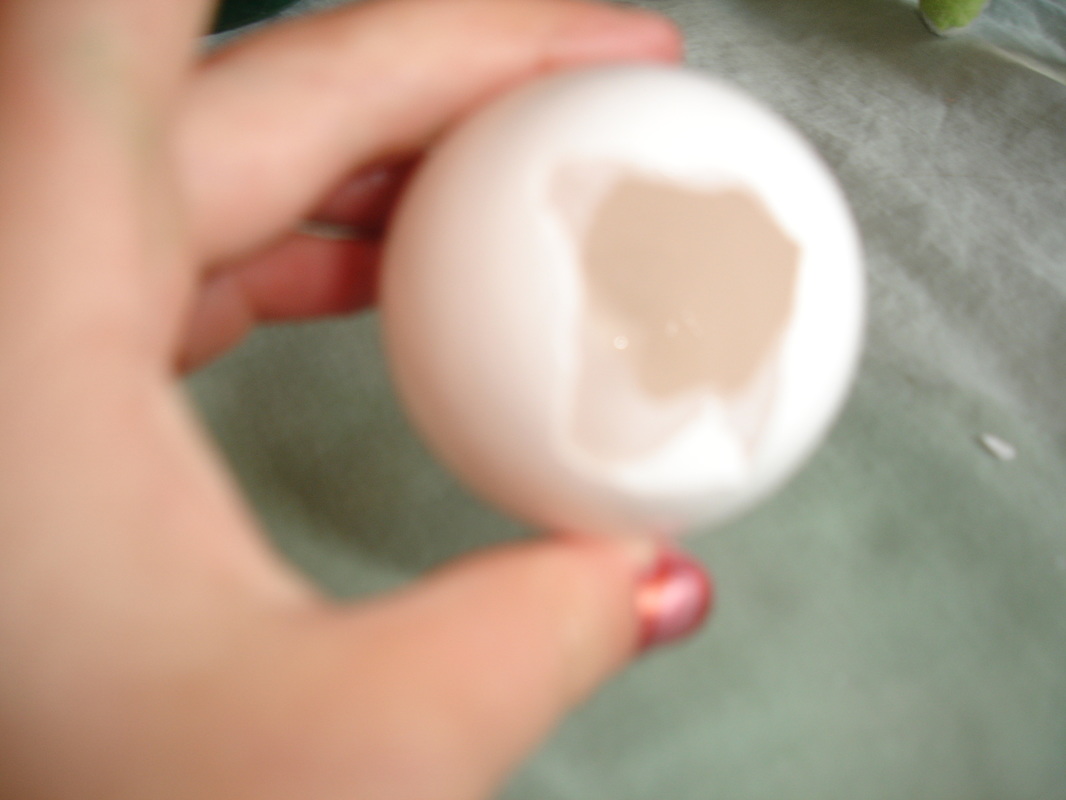 Paint soft stripes with pastel colors. 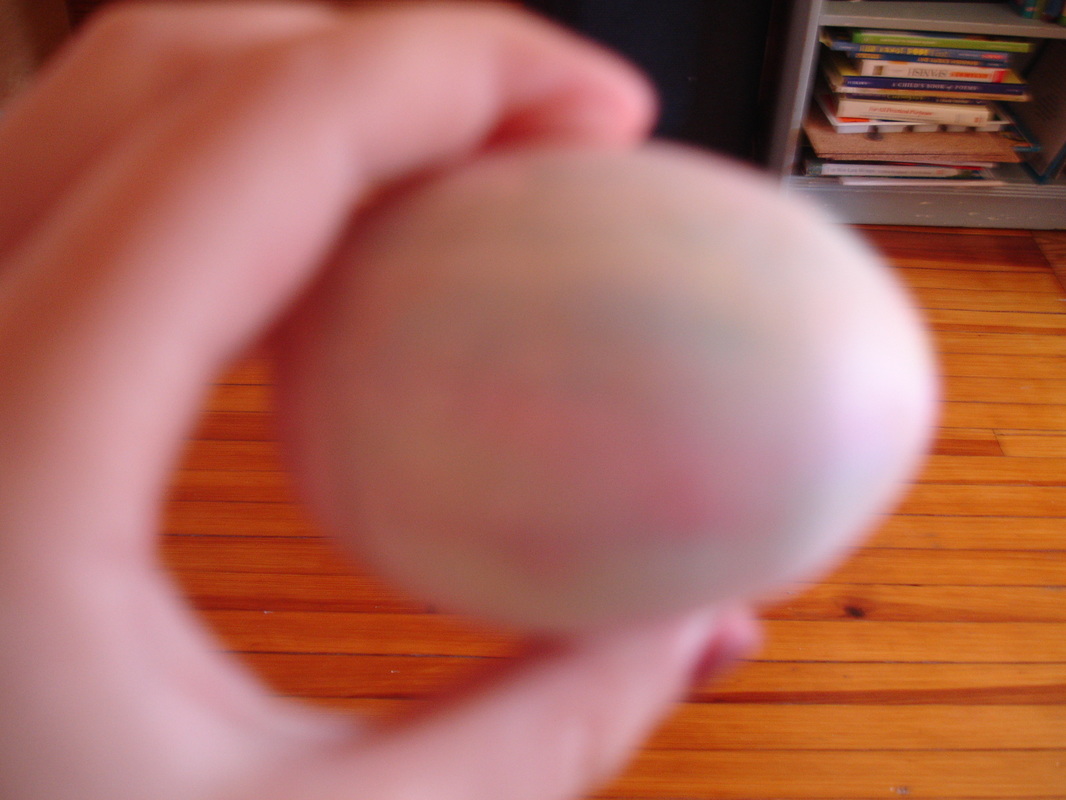 Dribble water on the egg, let dry, paint stripes, dribble, dry, repeat. Repeat this process 3-5 times. Depending on how exuisite you want your egg to be.  Your egg will have squiggles of lots of different colors, it will not be big and bold, but a very pretty egg. It would be nice to put skittles in it and give it as a gift. :) Enjoy makin a pretty Rainbow Jupiter egg!
It's not a shiny touch, nor a clunky classic, it's a nano! 6th generation to be exact. I originally wanted the 7th, because it played videos, but t looked too expensive. :( I like my sixth though! 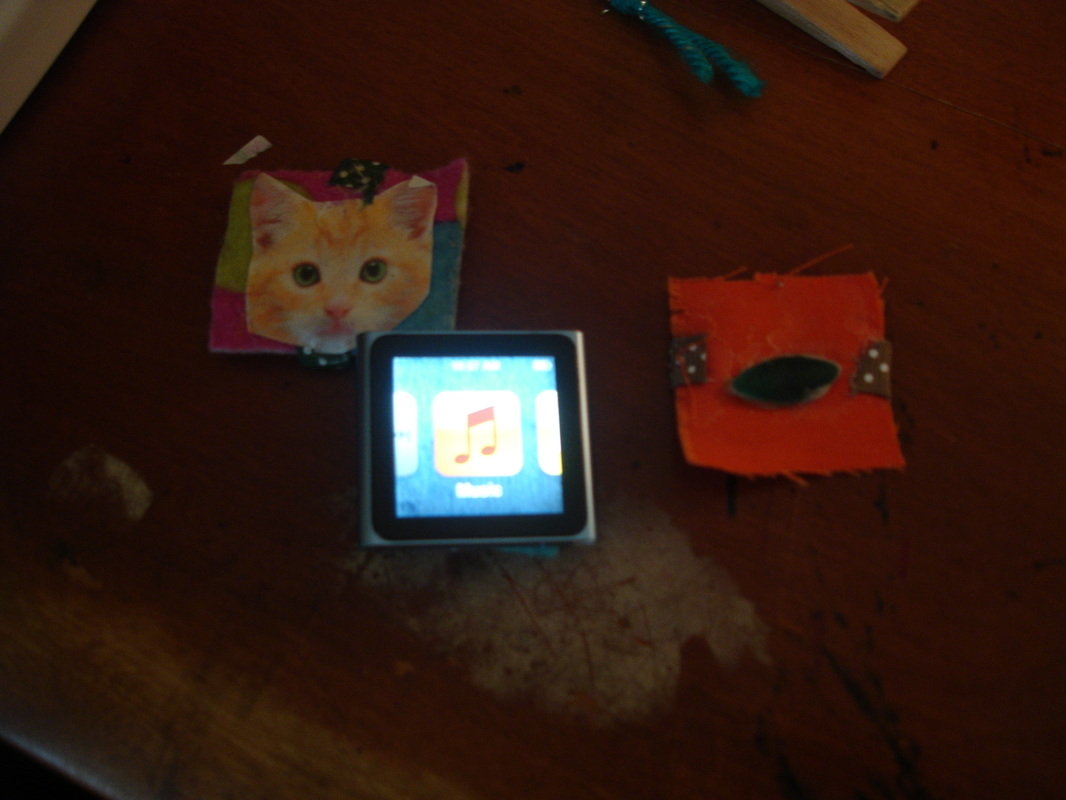 On to the tutorial! If you have an Ipod nano 6th generation, You might want to make this case, or if you don't, you can give it as a gift. I came up with this design on my own, I'm not copying anybody's work. :) So, You will need, scissors, ribbon, strong glue, a square of felt, and optional decorations! 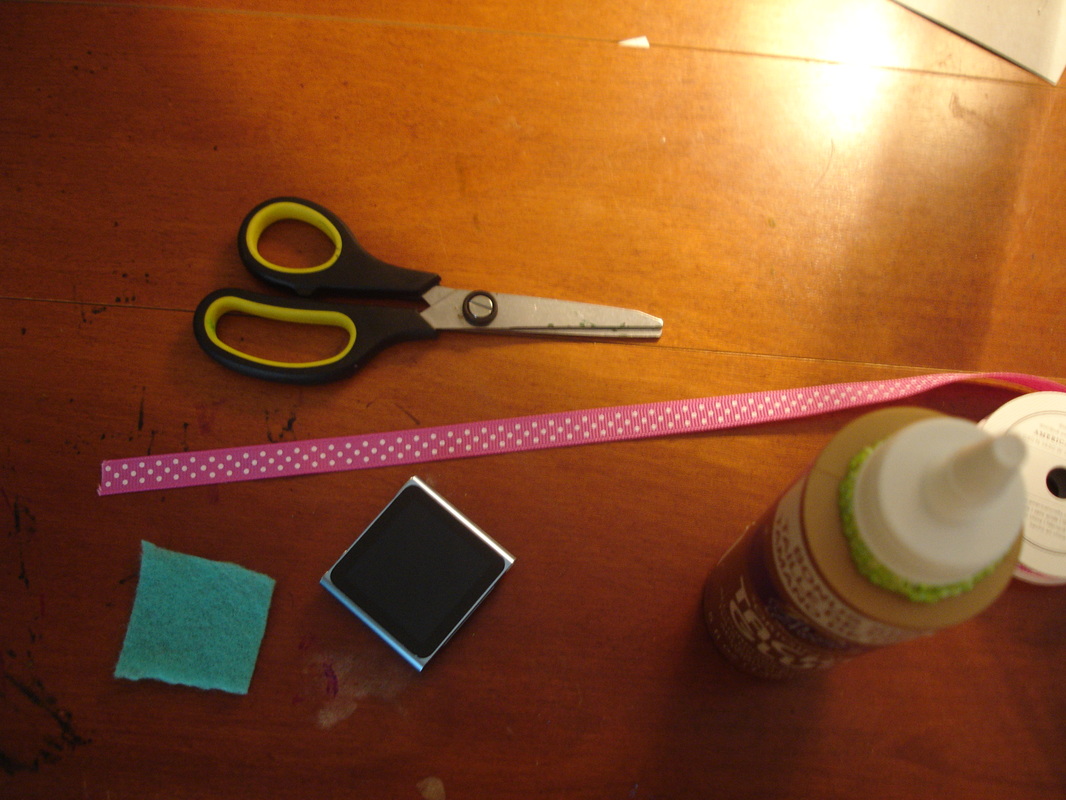 So now, cut a piece of ribbon about two centimeters bigger than the iPod. 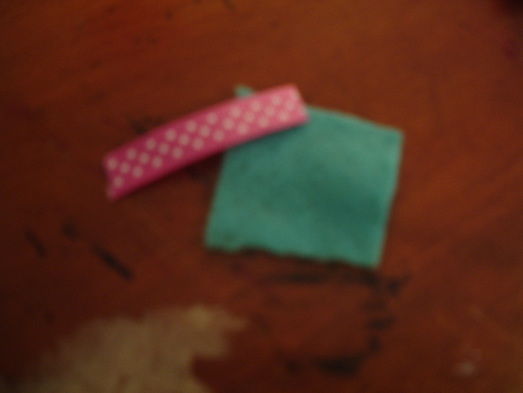 Put a dot of glue on either side of the felt square. (On the top and the bottom) 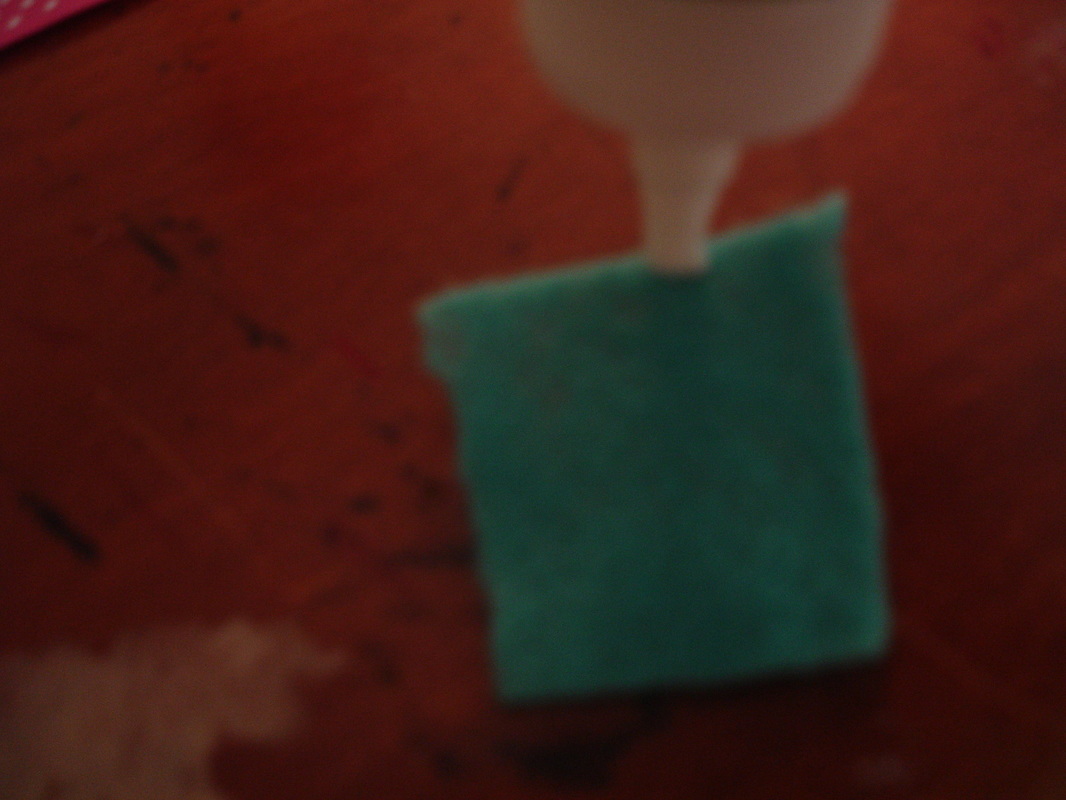 Now, turn over the felt square so that the glue dots are facing down. (make sure it's not touching your table!) 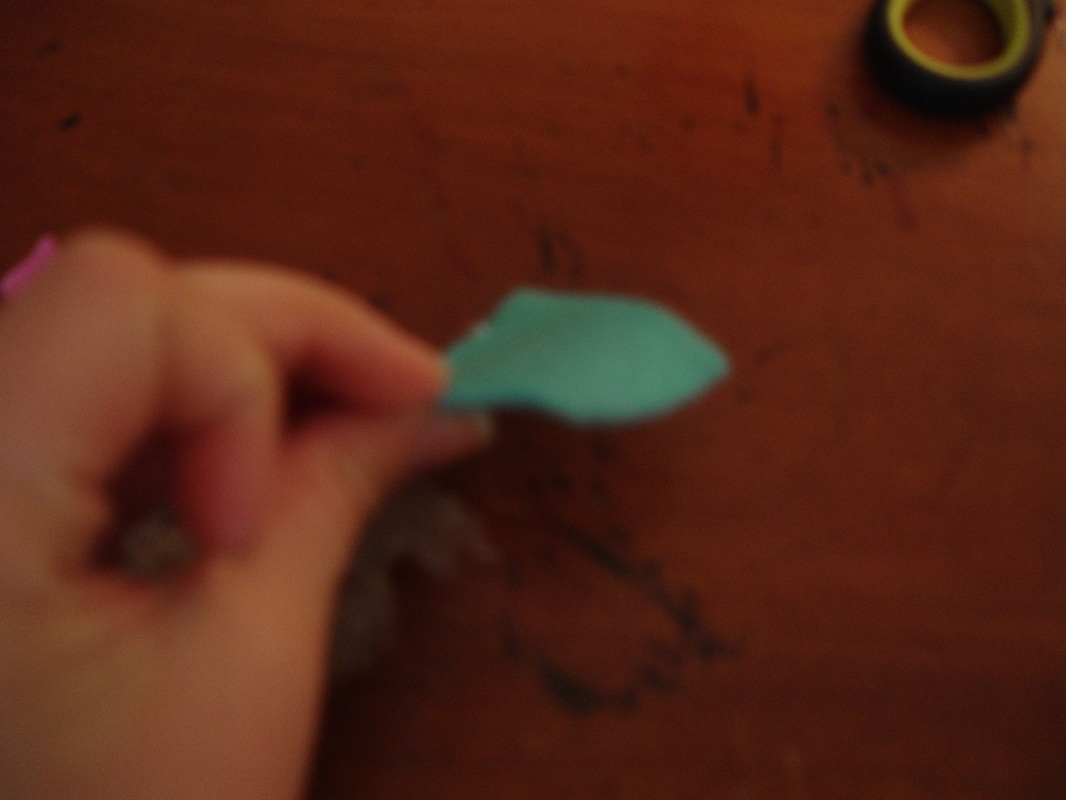 Now take your piece of ribbon, and lay it vertically across the felt square like this.... 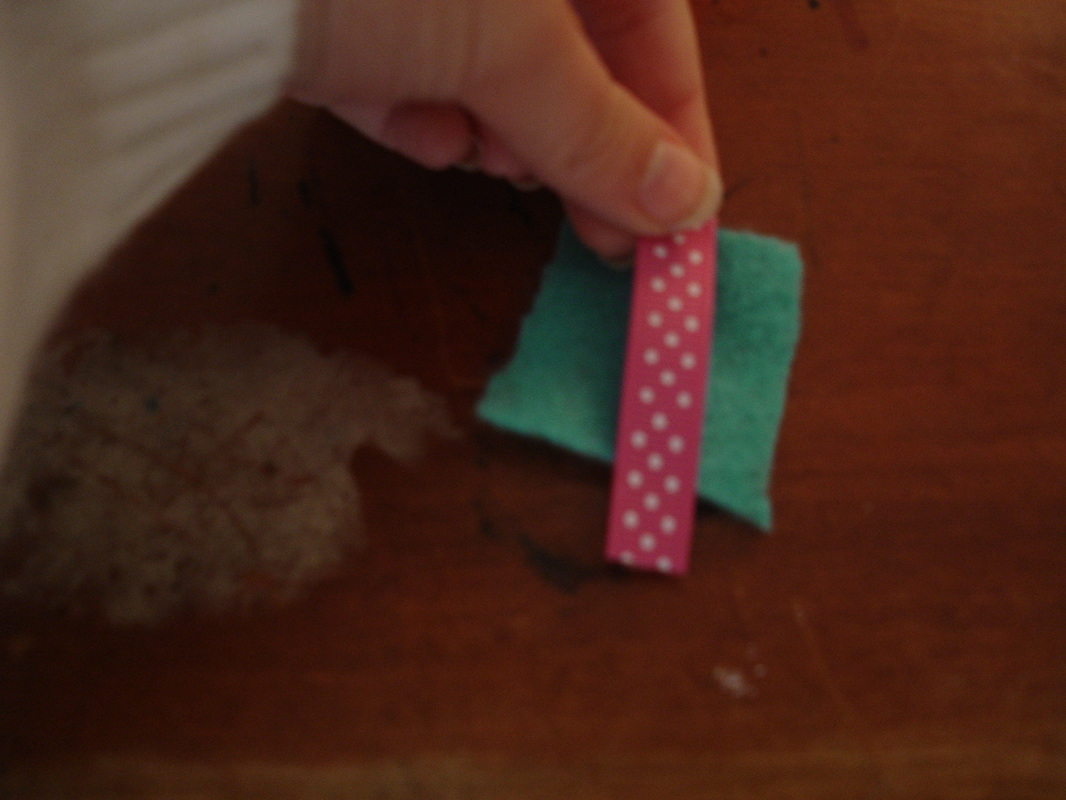 Fold the extra ribbon sticking off the sides onto the glue dots that are on the other side of the felt square. Pinch it with a clothespin and wait for it to dry. While you're waiting, it's time to add the decorations! 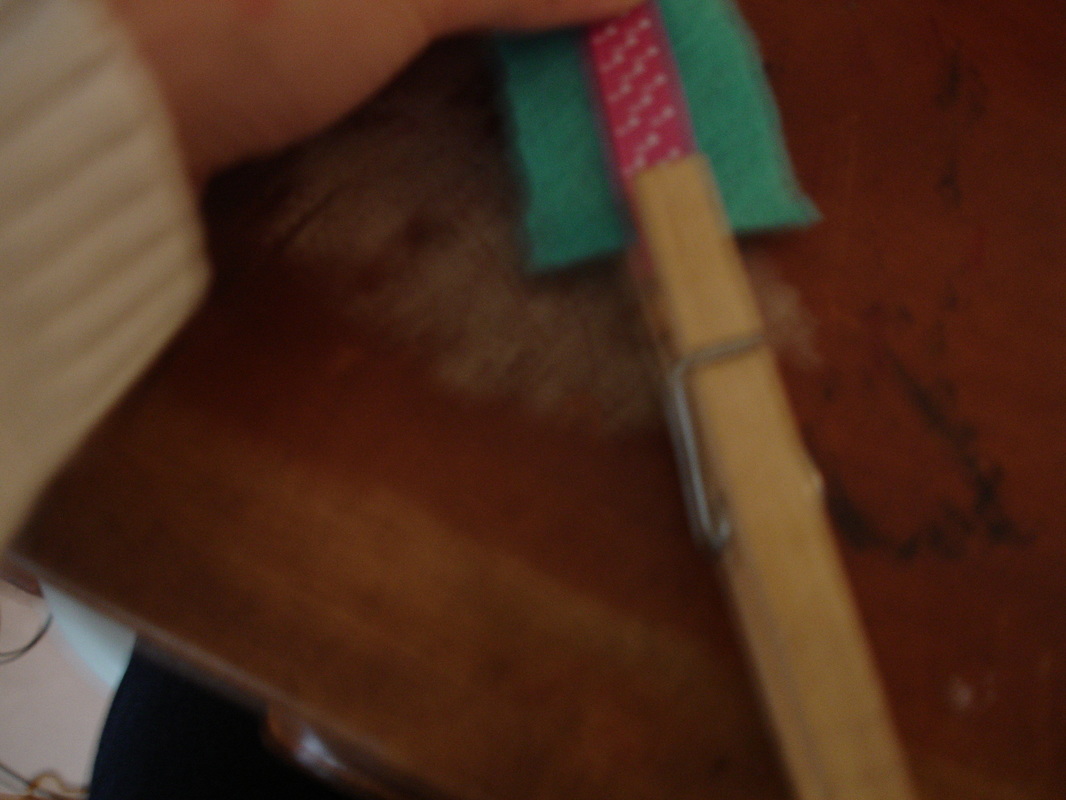 You can use bows, small pictures, or even grips from a toothbrush! I peeled off the grips of my toothbrush, and they make eccelent don't-loose-your-iPod cases. 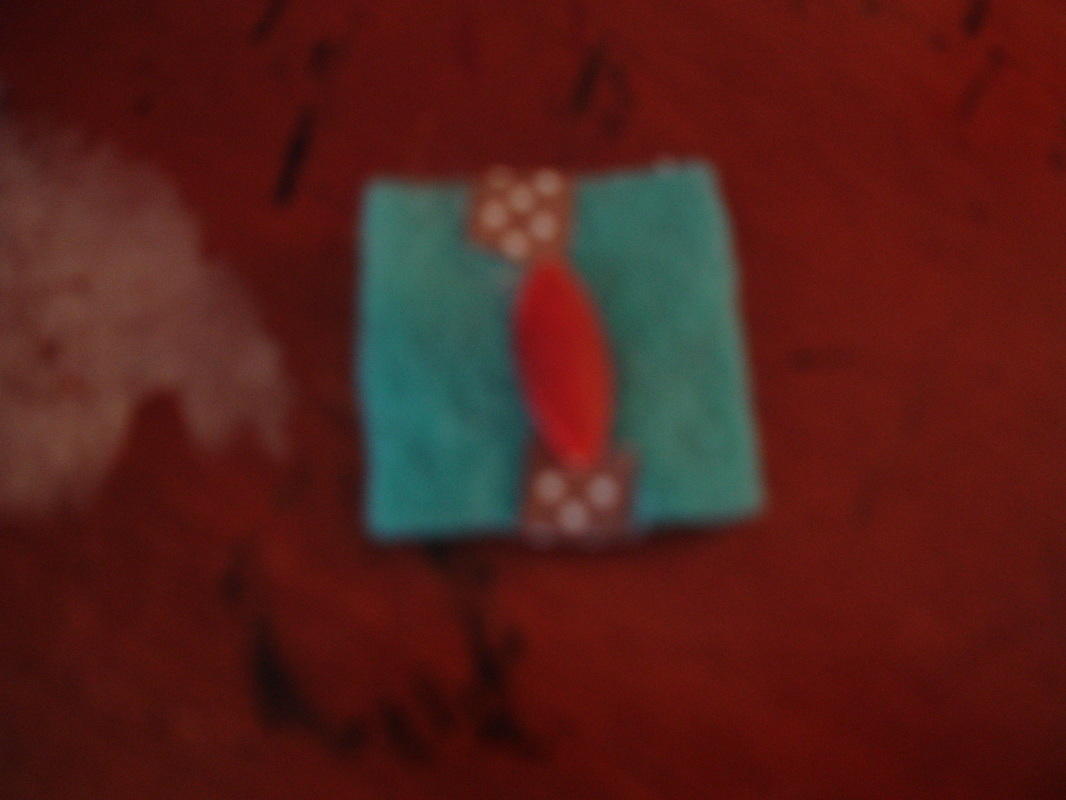 Wait for your decorations and your strap to dry. You might have to wait overnight, or maybe just a few hours. it depends. Then, it's time to put the case on! Open the clip on the back of your ipod. 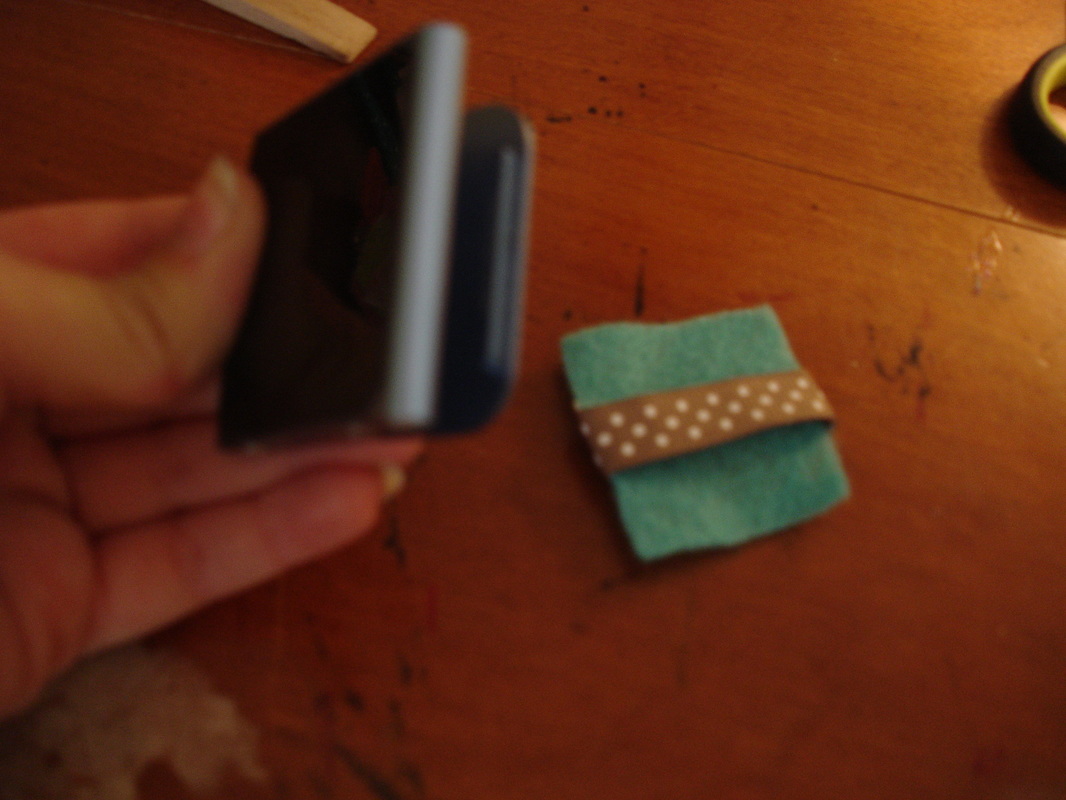 Clip the strap, and slide it on the back of the ipod. 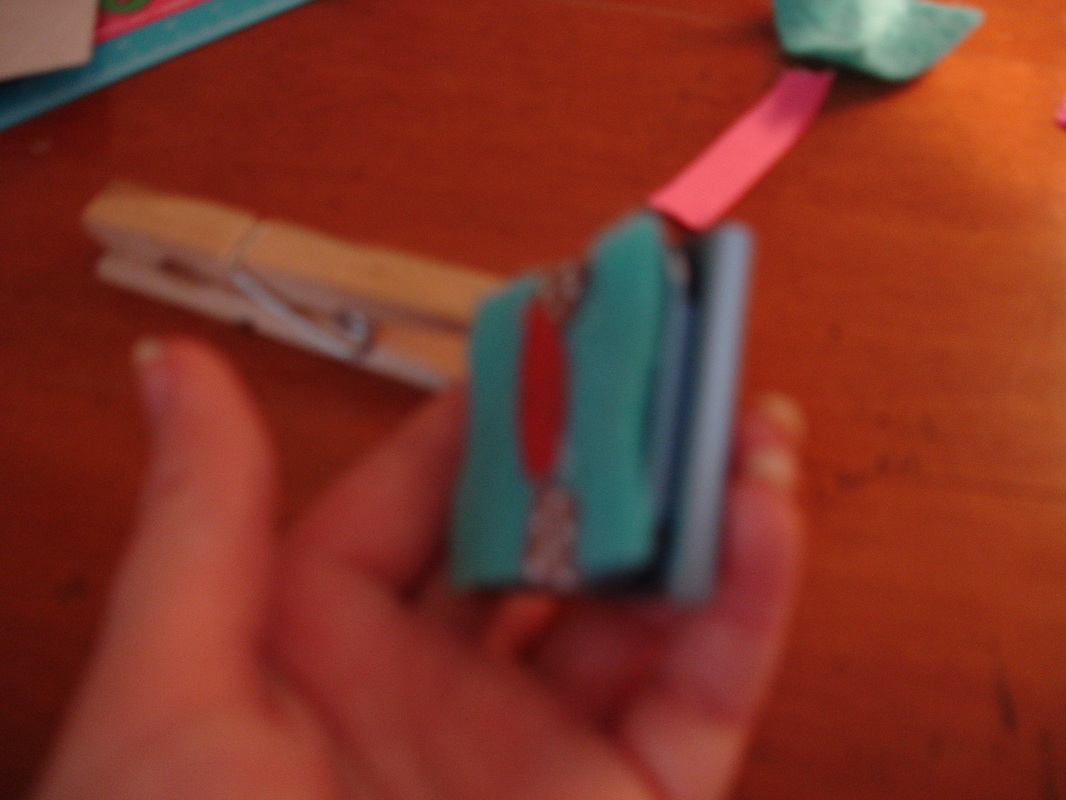 |

Hi there!I am a homeschooler who loves to do DIY projects, make new recipes, grow plants and discuss interesting stuff. Archives
September 2018
If you like my blog, copy and paste my button to yours!

 |
||
