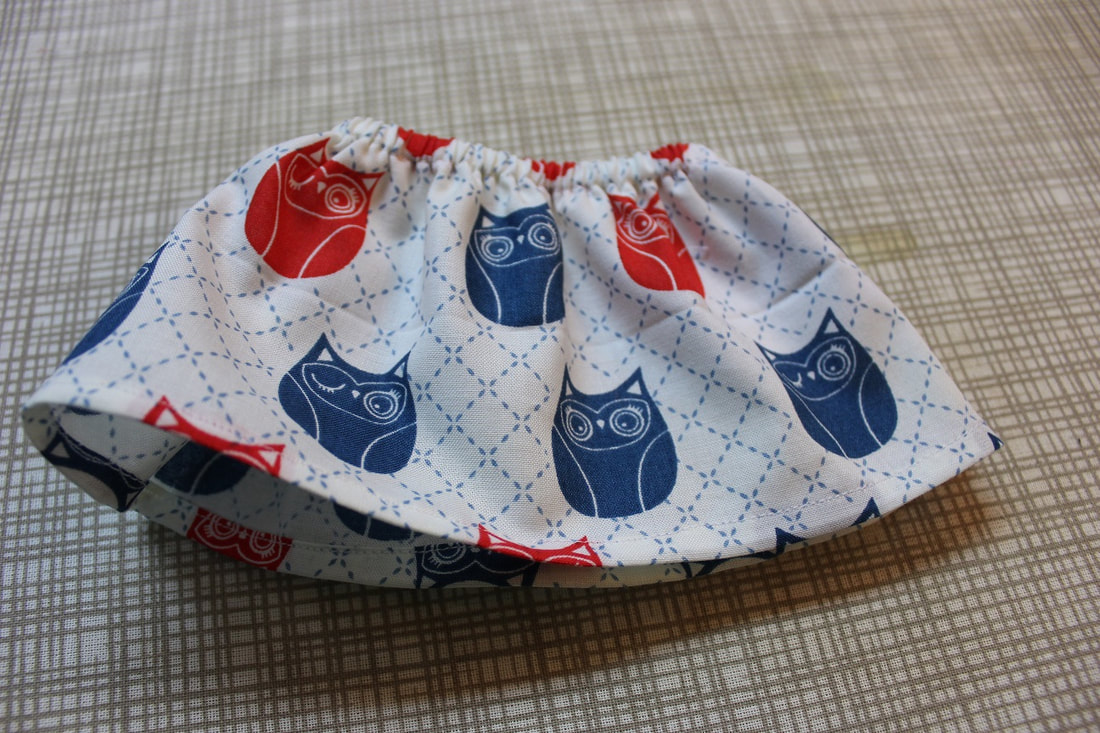
 Hello, awesome blog readers! Again, I am sorry for not posting in a while! Today I'm making a cute skirt for Willa, my new Wellie wisher. This skirt will fit other 14.5ish inch dolls, even small stuffed animals! You can also make the skirt a few inches longer for a maxi skirt, or an inch or so shorter, and a little less wide for a mini skirt! If you have a favorite teddy bear, for example that you wish to make a skirt for, that has a larger waist, just cut a longer piece of elastic that is a little longer than your bear's waist measurement! the skirt will not be as full, but it's an easy way to make a skirt fit bigger dolls/animals. Tip: If you are making this for bigger dolls or stuffed animals, make sure to make the skirt a few inches longer if your doll is taller than 14.5". This is a great beginner project, it is great for practicing straight seams! If you don't have access to a sewing machine, you can sew the seams with a sturdy hand-sewn back-stitch. Feel free to experiment! You can also sew a fun trim to the bottom. Anyhoo, enough chitchat! Let's get started! 1. Cutting Your FabricCut 1 piece of fabric 22" by 4.5" Cut 1 piece of 1/4" wide elastic 7 1/2" long I like using fat quarters for this project because they are exactly 22" long! 2. Pressing Up the Hem & Waistband CasingHead to the ironing board to press back your hem and waistband casing! For the hem: press the fabric 1/8 inch away from your bottom edge, then press forward another 1/8 inch for a basic hem. For the Waistband Casing: Press just as you did for the hem, but press forward 3/8" and then press forward 3/8" again, pressing the first press over. After you do this, there should be no raw edge. 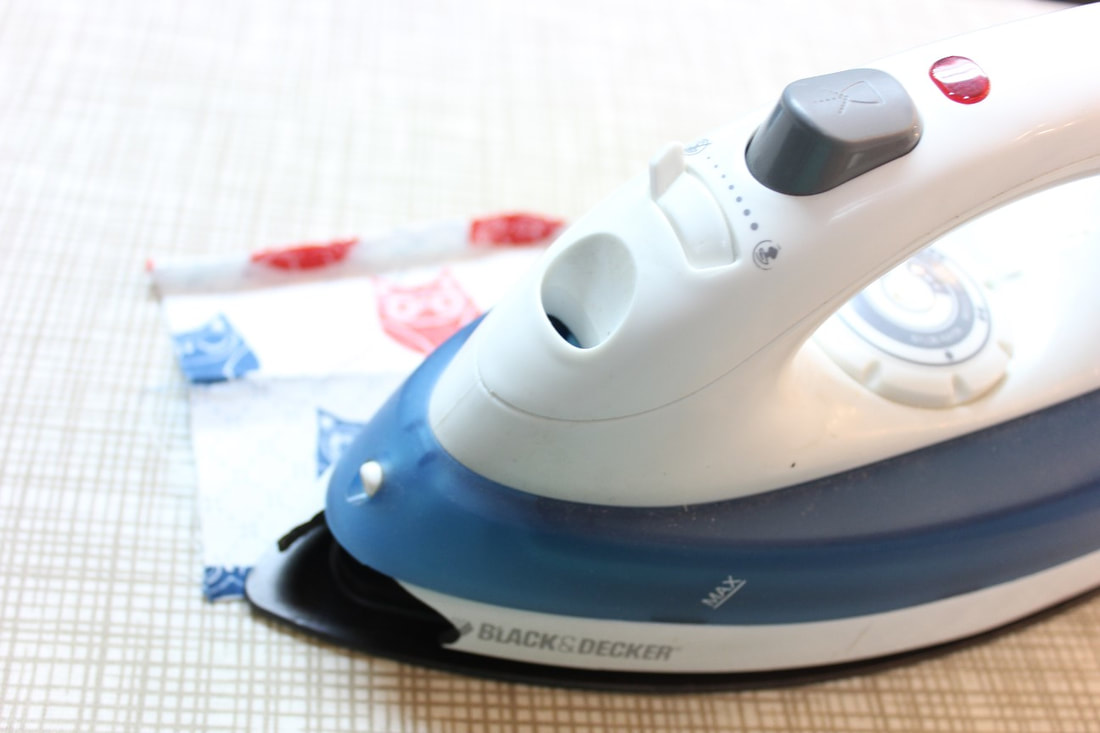 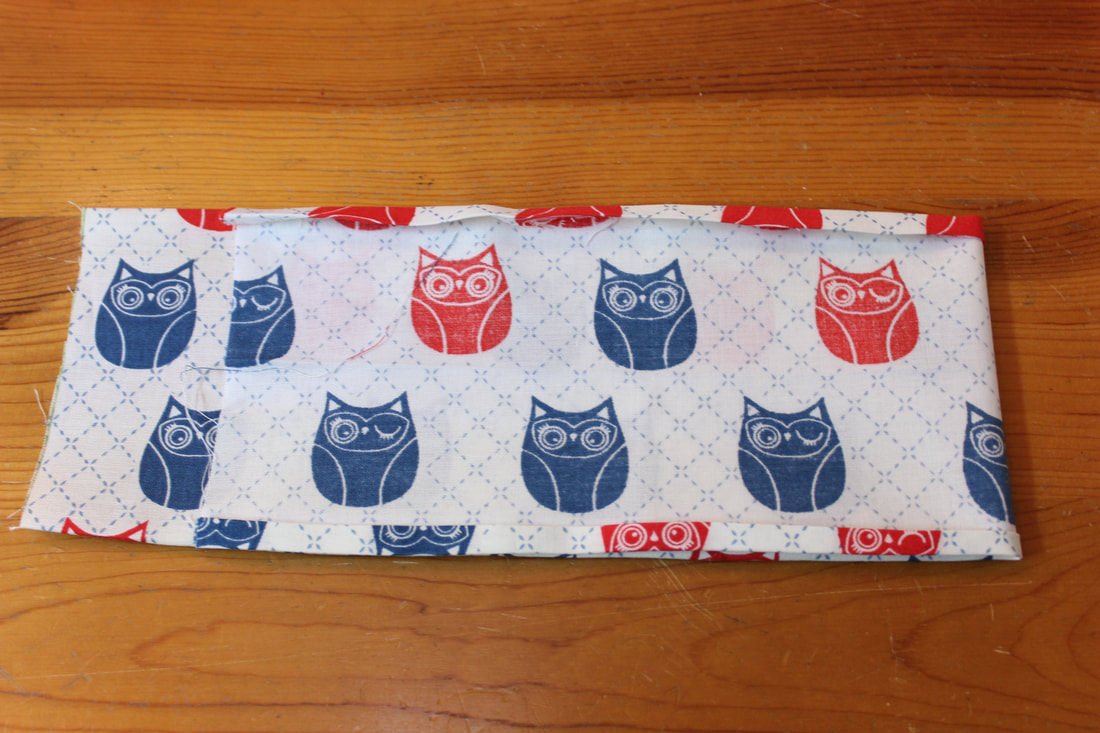 3. Sewing the Hem and Waistband CasingStitch the (pressed up) seams with your needle at the edge of the seam facing the middle of the fabric. 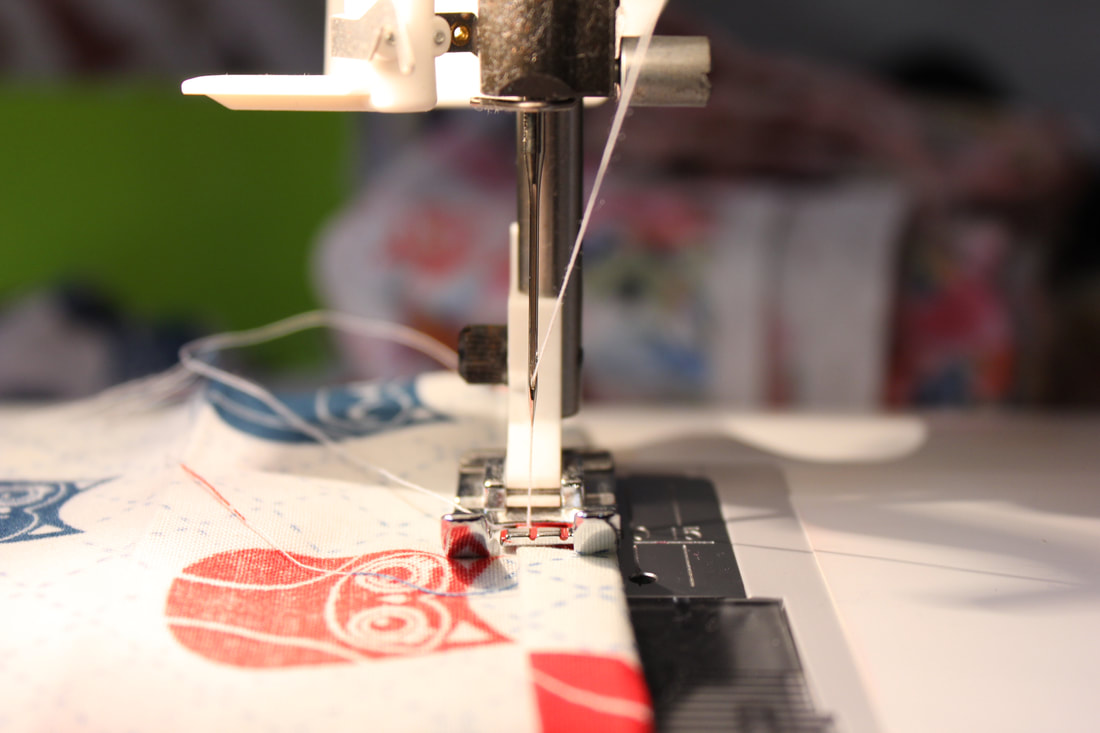 4. Inserting the ElasticAttach a safety pin to the end of your piece of elastic, and push it through the waistband casing. (not through the hem!) Since the fabric is so much longer than the elastic, the elastic could get lost in the fabric 'tunnel' so either hold the end of the elastic somehow, or be really careful! 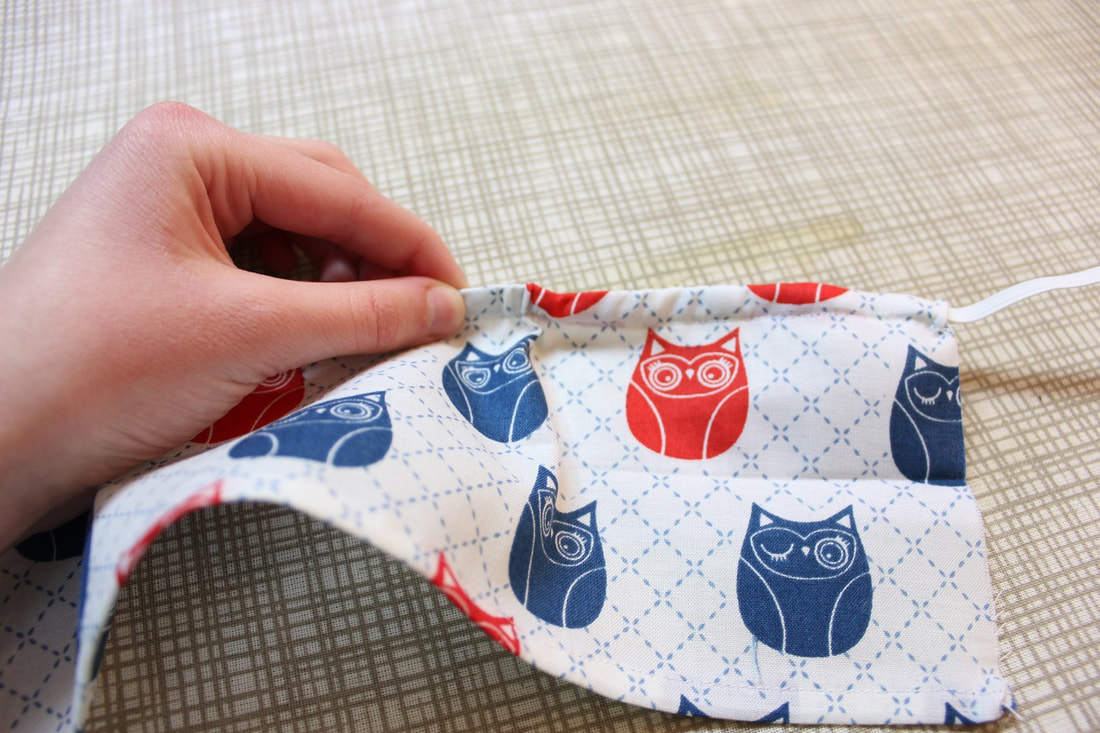 5. Sewing the Side SeamI like using an overlock/zigzag stitch for this step because it nicely finishes the edges, and it is so quick to do! If you can't do an overlock or zigzag on your machine, sew the seam with a straight stitch and then press it open when you are done with that. After you have pushed the elastic through, remove the safety pin, and leave the two elastic ends sticking out just a little bit so that they don't disappear into the casing. Now fold your fabric in half width-wise with the right sides together, and stitch THROUGH the elastic, to the bottom edge. (stitching through both layers of fabric with your presser foot on the edge of the fabric if you are using an overlock/zigzag stitch, or with a 1/4 inch seam allowance if you are just using a straight stitch) And now you have an extremely adorable doll skirt!  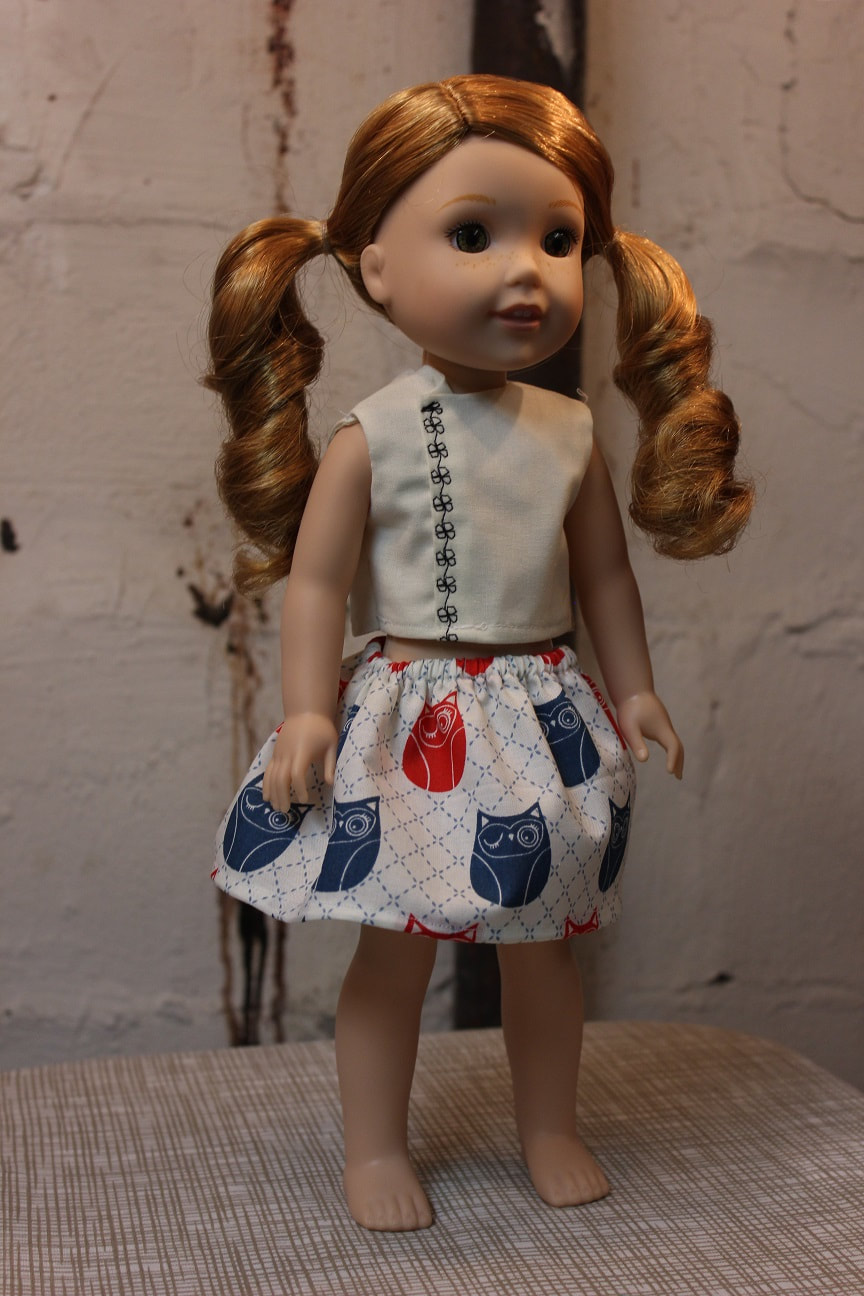 I hope this tutorial was helpful and useful as well as fun! Let me know if you liked it. Also, let me know what other kinds of things that you think I should sew! More posts soon,
-Flala.
2 Comments
Ella
1/30/2018 09:44:46 pm
CUTE!!!!! Amazing, Flala!
S.R.W.
1/31/2018 04:39:50 pm
Love it! Leave a Reply. |

Hi there!I am a homeschooler who loves to do DIY projects, make new recipes, grow plants and discuss interesting stuff. Archives
September 2018
If you like my blog, copy and paste my button to yours!
 |
