|
The first thing you're going to say is EWW! That looks like a frog with a thyroid problem! But no, it's really cool slime that sparkles without any glitter and you can make it youself... BUT you could shape it into a frog, and press in some googly eyes and scare your friends! ANYway, scroll down and see the recipe. 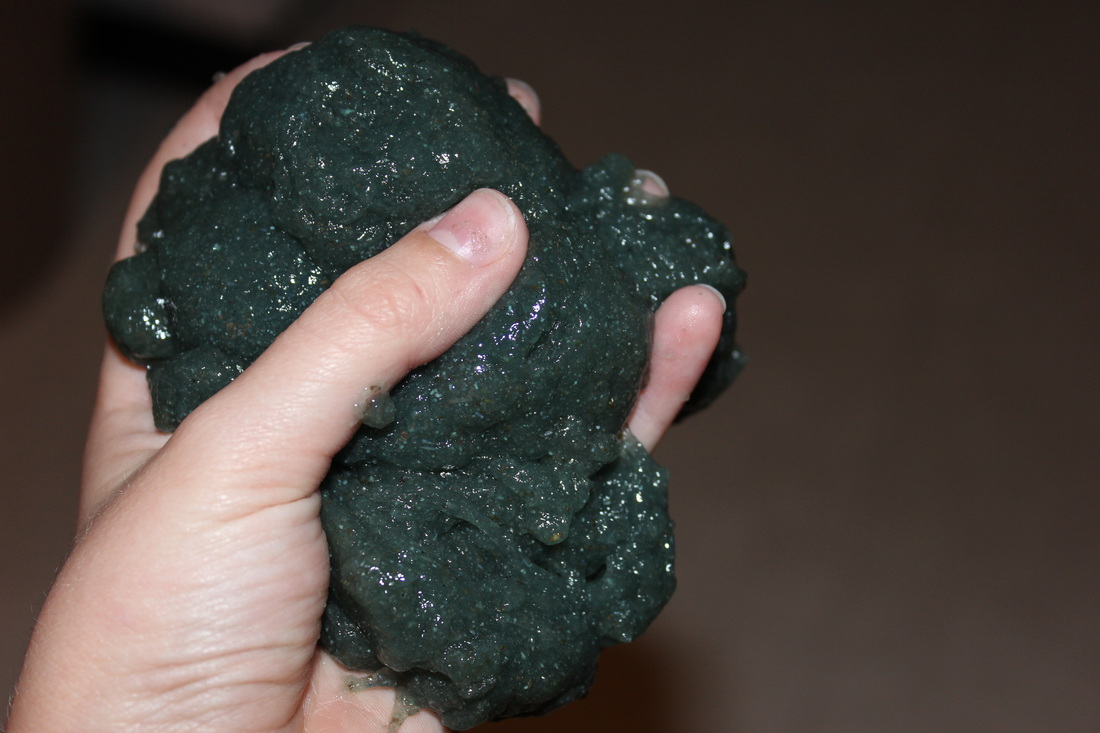 You need: 1 tablespoon psyllium fiber powder (or try it with gelatin) 1 cup of water Food coloring (optional) You Do: Add the fiber powder and food coloring to the water and give it a stir to make sure that the powder won't clump up. Microwave it on high for 5 minutes. It will be hot, so let it cool before touching. If you want rubberier and less messy, add 1/2 a tablespoon more psyllium fiber powder. If you want rubberier and less messy, add 1/2 a tablespoon more psyllium fiber powder. The Science Behind it: If you zoom in on this slime you'll see paper-clip like chains. Those are polymers! They are all linked so that this isn't a solid like psyllium powder or a liquid like water. It's just in between.
0 Comments
Here are some cool crafts with buttons and a hot glue gun. I had so much fun doing them! 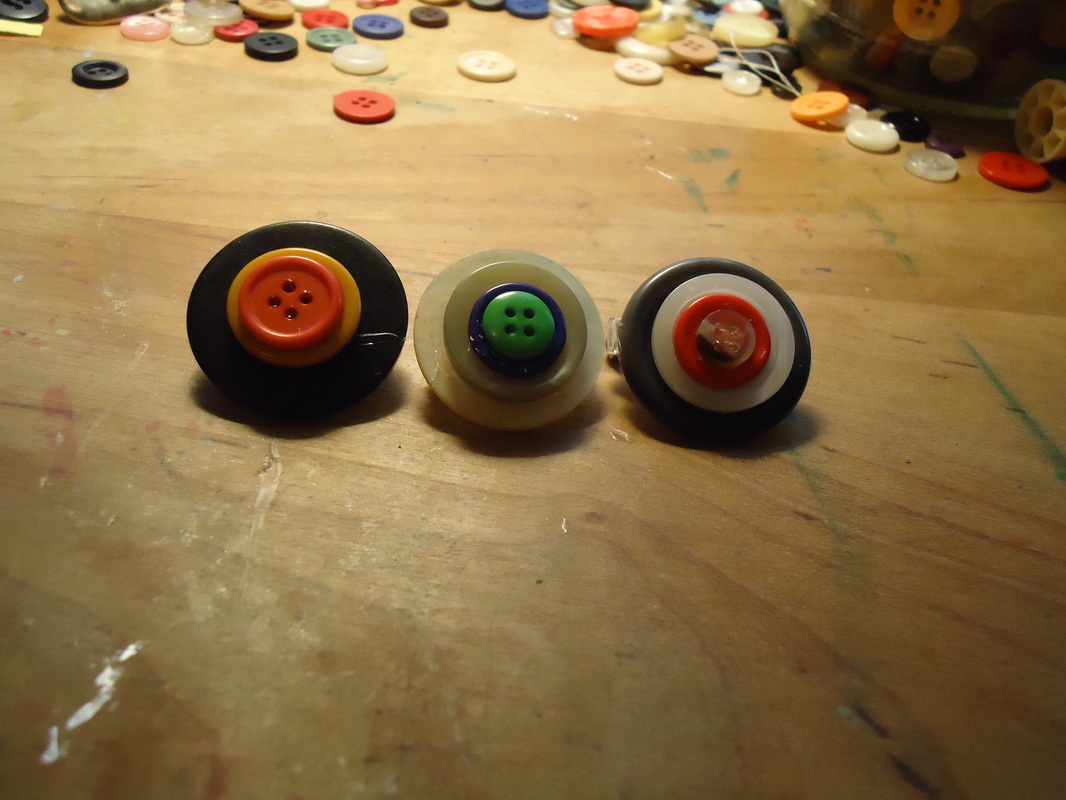 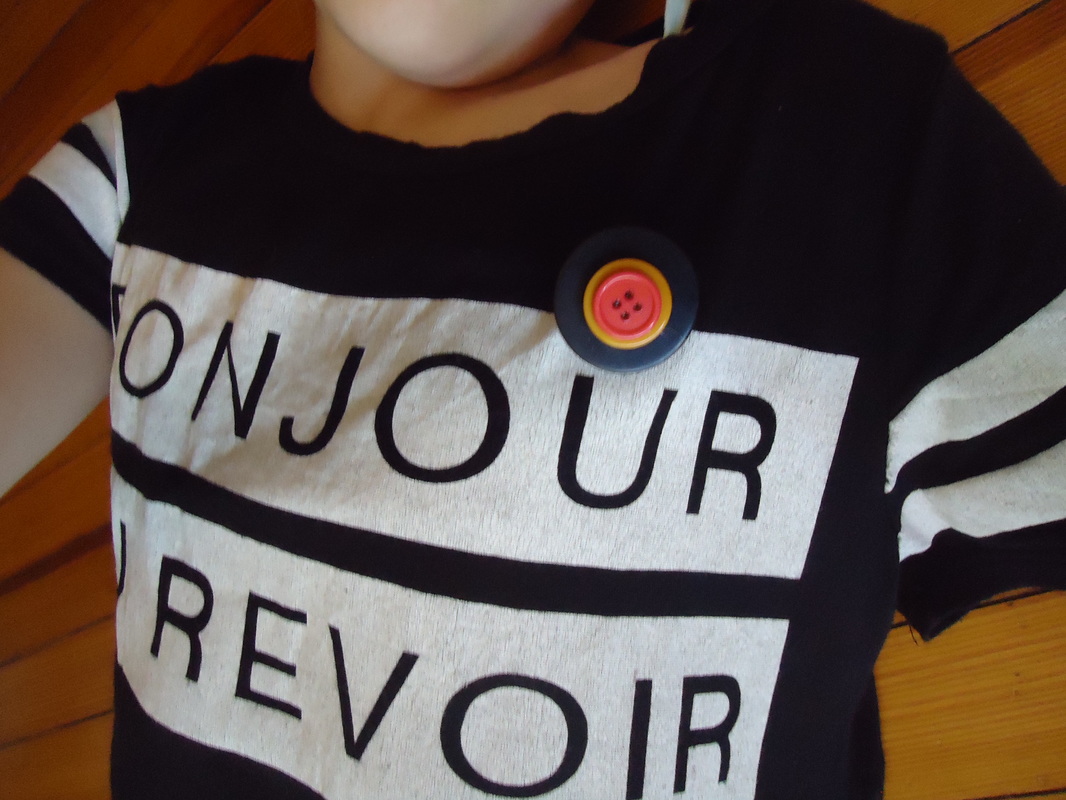 Button BroochYou Need: As many buttons as you want to have on your brooch. Hot glue & gun. A brooch blank. (you can get some at the craft store.) You Do: Glue together a button stack, like in the picture above. Then glue it to the blank. Or you can glue 2 buttons side by side with one on top, in the middle, like the picture below. 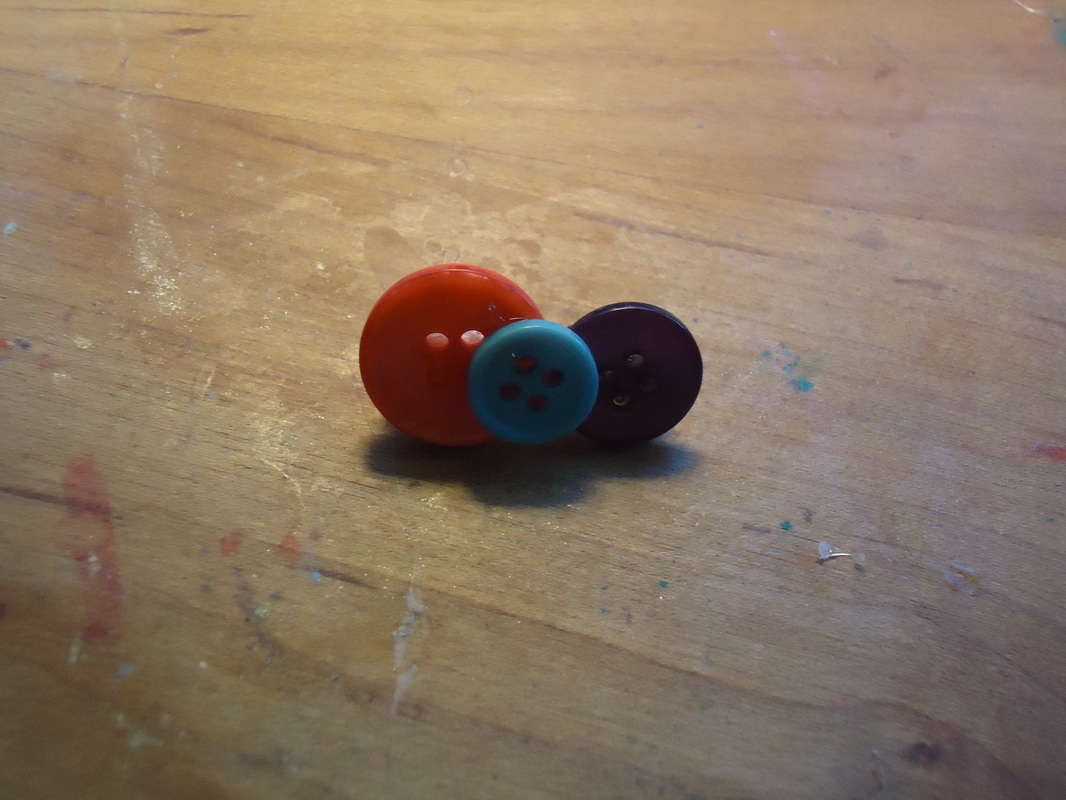 Button EarringsYou need: 2 buttons or you could use stacks! Hot glue & gun. Earring blanks, or just rip the decoration off of some old clipons. You Do: Glue the buttons to the blanks. 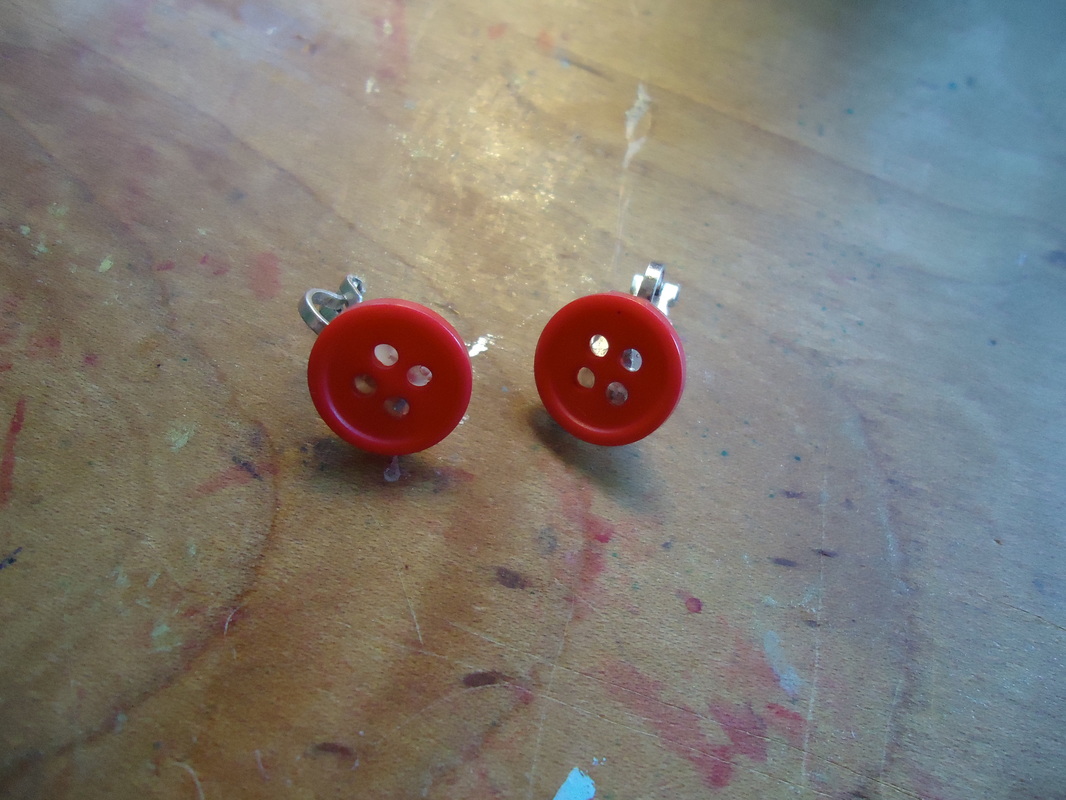 Button Pencil Can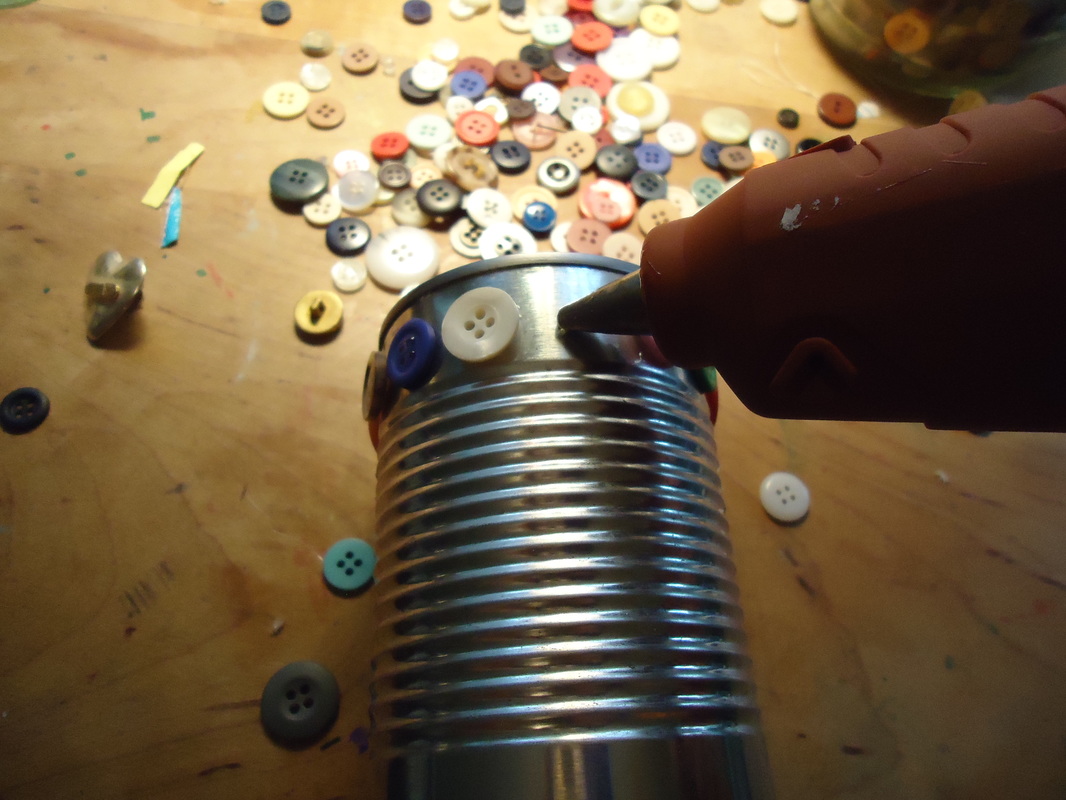 You Need: An empty, clean bean can stripped of it's wrapper. Buttons Hot glue & gun. You Do: Glue the buttons to the can any way you like. I glued them to the top and bottom rims of straight metal. Button Ring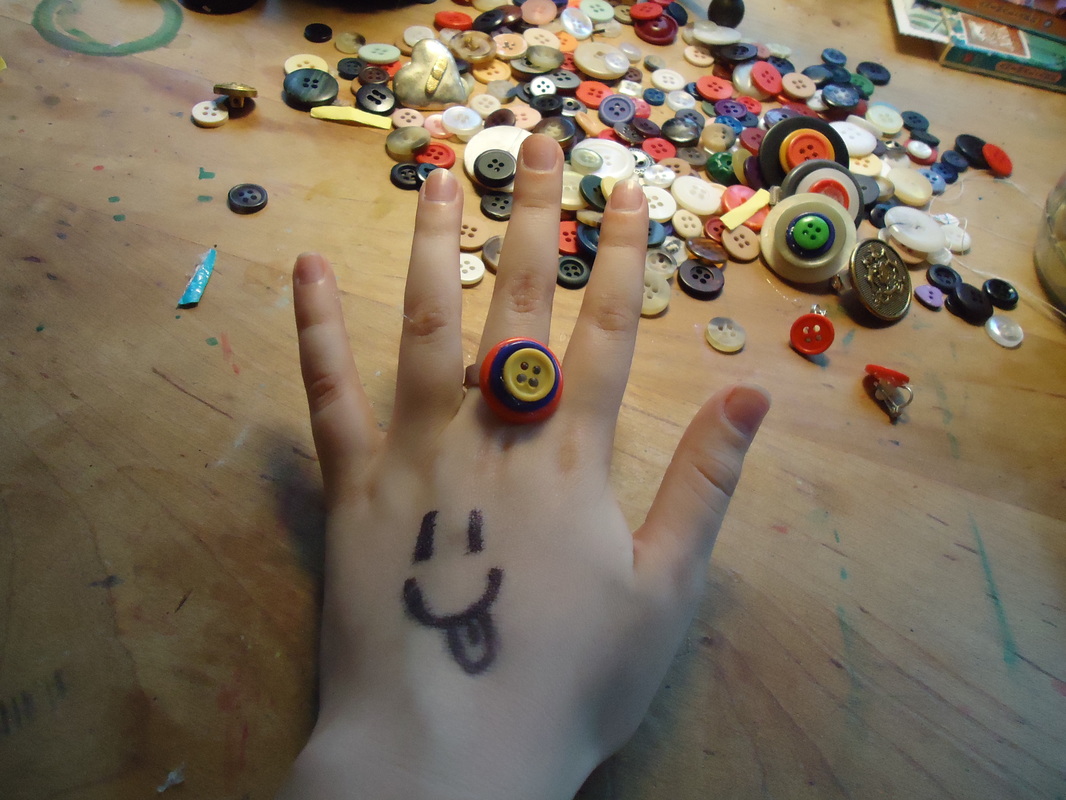 You Need:
Buttons A ring blank, or just rip the decoration off of a ring. You do: Glue buttons as you like to the ring. These pom-poms are so cute! You can make them with a ball of yarn, scissors and your hand. Once you know how to make these, they will take over your house! There are infinite possibilities for what you can make with these. Garlands, earmuffs, hair bows, earrings, scarves, fuzzy friends, pillows, and SO much more! You can whip up an awesome gift for a friend in an afternoon. 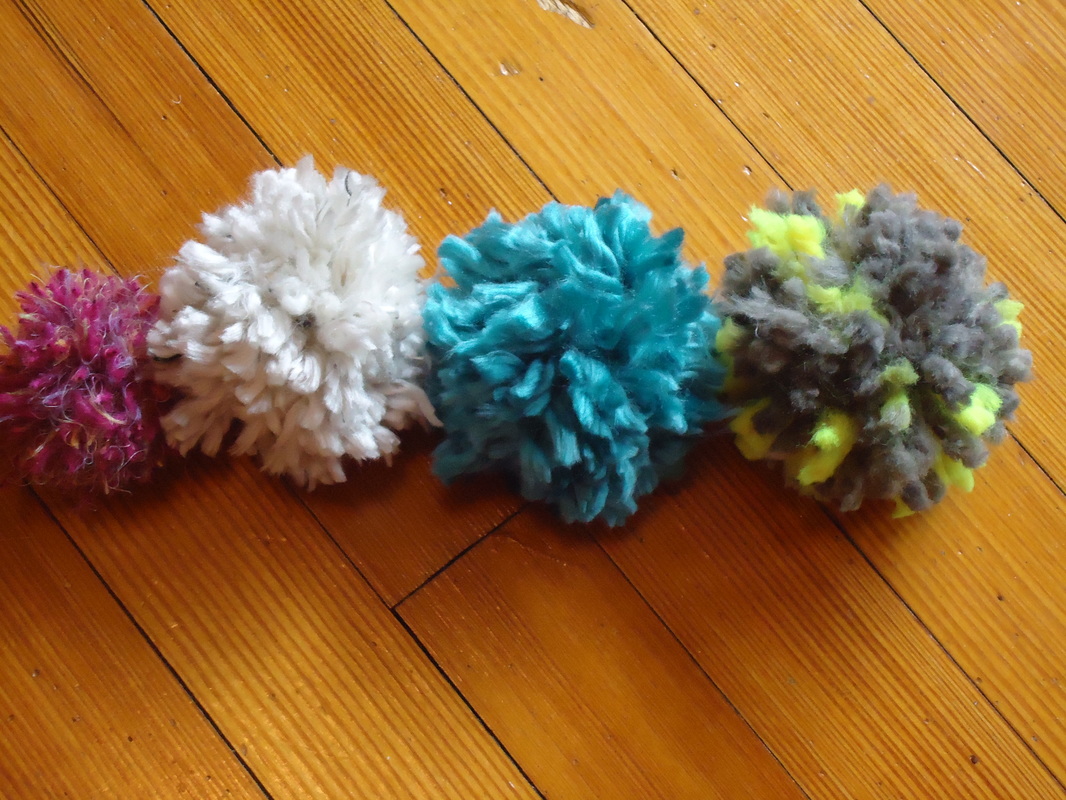 you'll need:a ball of yarn scissors your hand make it!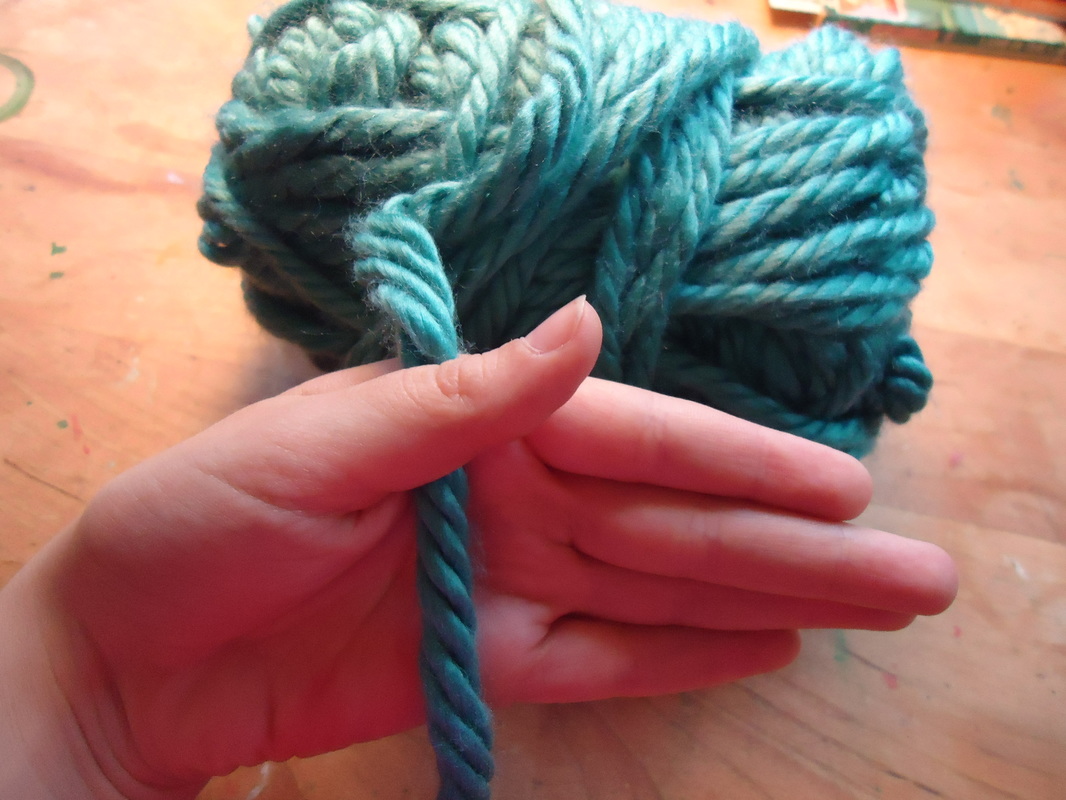 Place the yarn under your thumb like so. 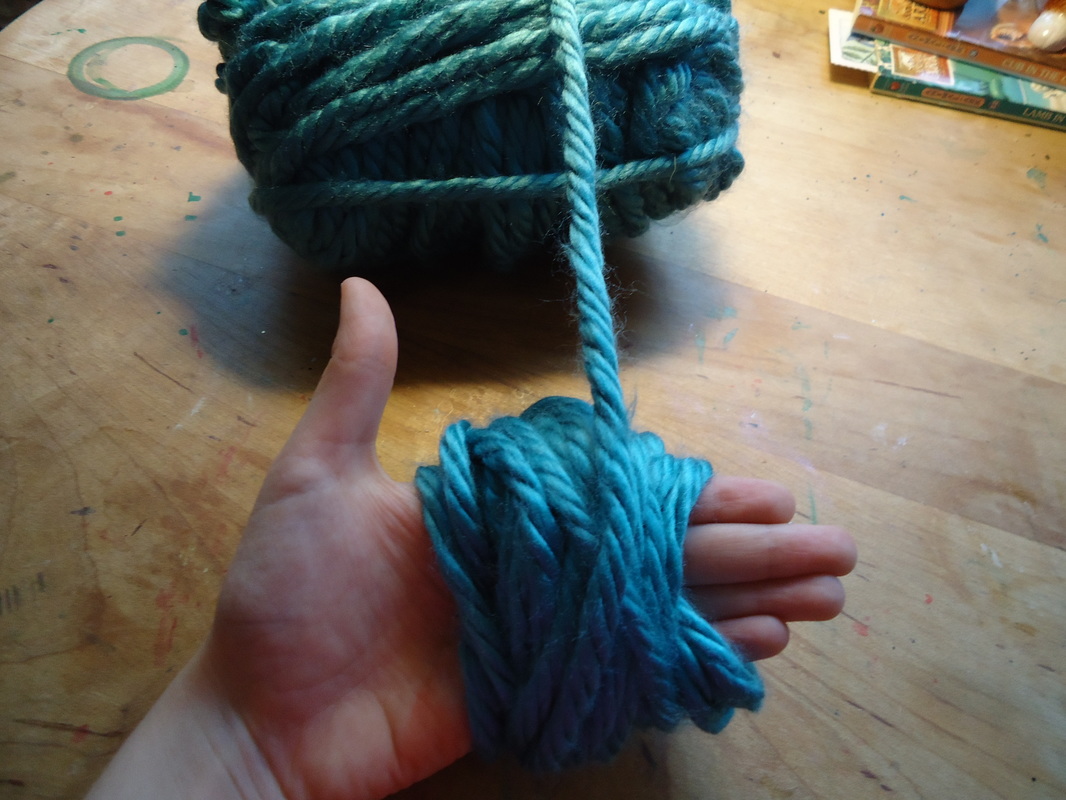 Wrap yarn around your hand about 50 times. Less for thicker yarn. More for thinner yarn. 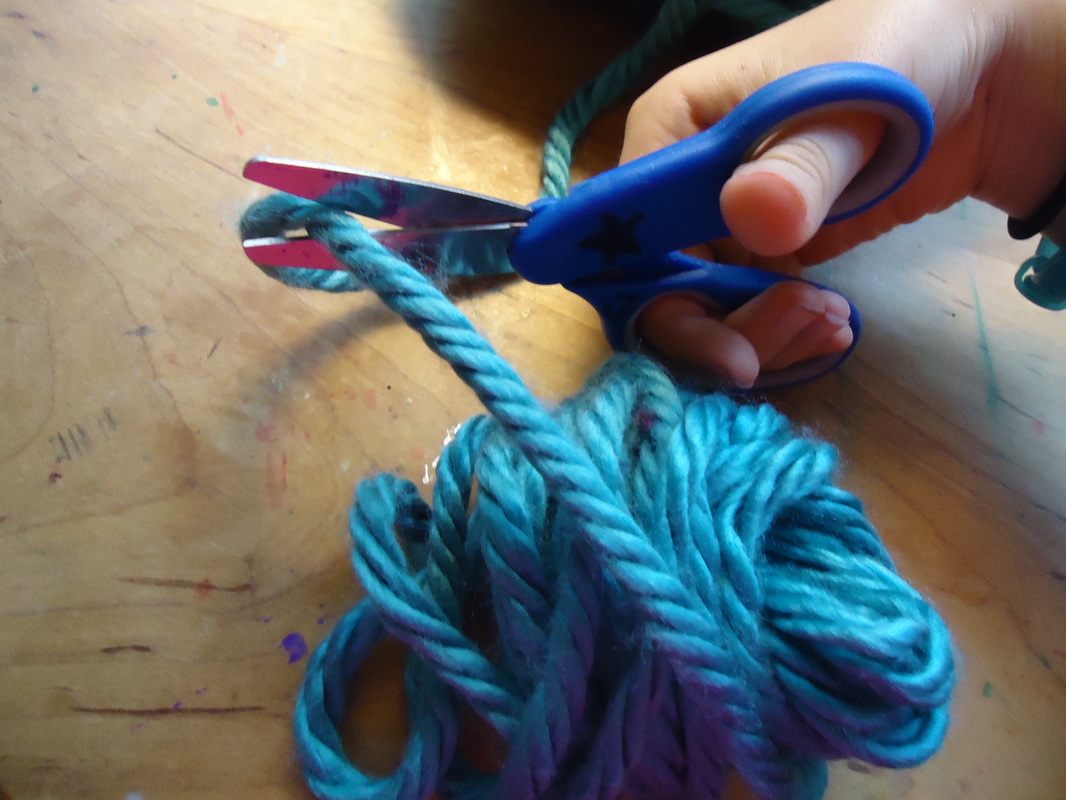 Snip the end of the yarn after you're done wrapping.  Cut a piece of yarn about 5 inches long. 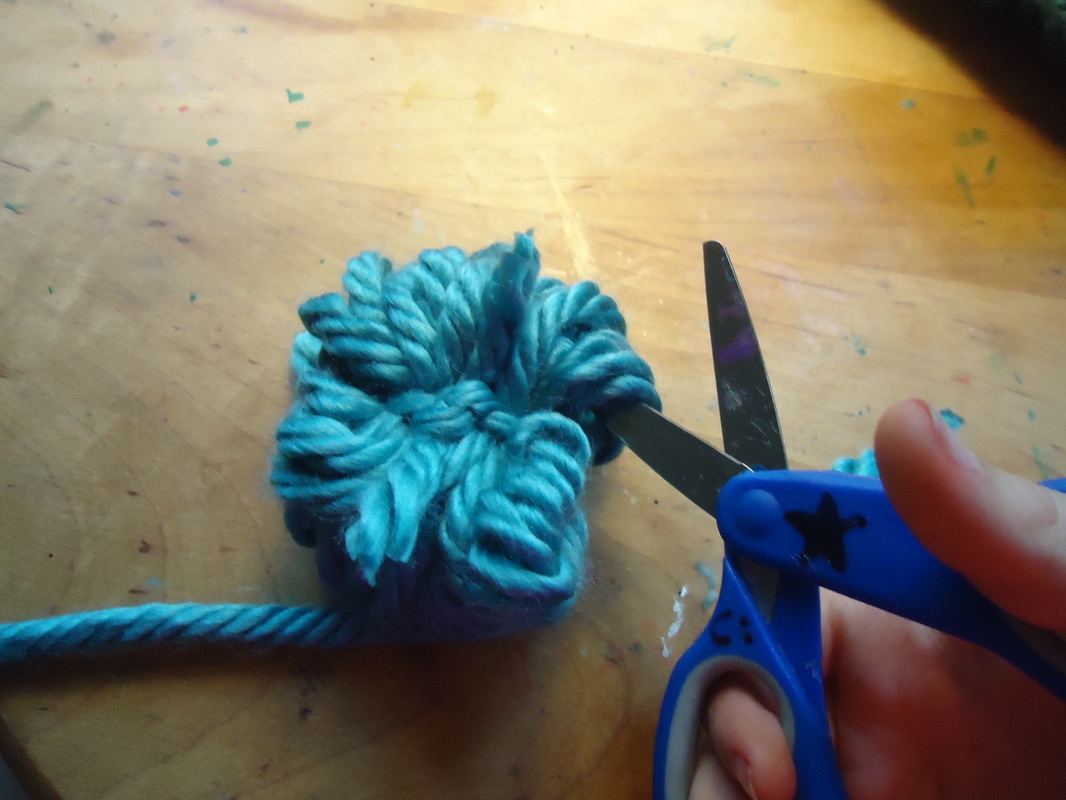 Tie tightly around the bundle. Cut the loops on the top and bottom of the bundle.  Trim your pom-pom. Yay!
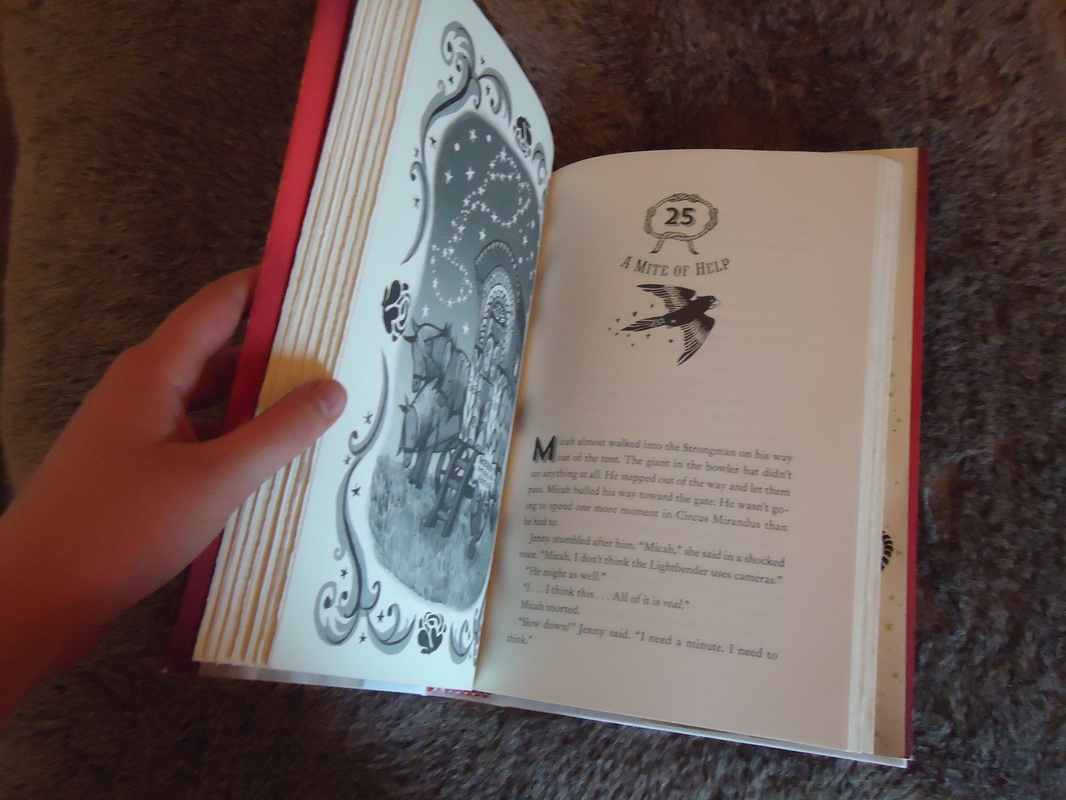 Micah's dying grandfather tells stories of the magical Circus Mirandus, Micah's mean great-aunt thinks it's nonsense, but Micah believes with all his heart that the stories are true. Then, Micah visits Circus Mirandus with his slightly annoying best friend Jenny (who doesn't believe in magic) to try to make the Lightbender keep his promise. Micah and Jenny explore the circus and meet Big Jean, the world's smartest elephant, The Amazing Amazonian Bird Woman (well, they hear about her) and most incredible, The Man Who Bends Light, or 'Lightbender' for short. Long ago, Lightbender gave Grandpa Ephraim a miracle. But now, it seems, that Lightbender doesn't want to keep his promise! A very magical and heartfelt book (with intricate drawings) that I read in one sitting! 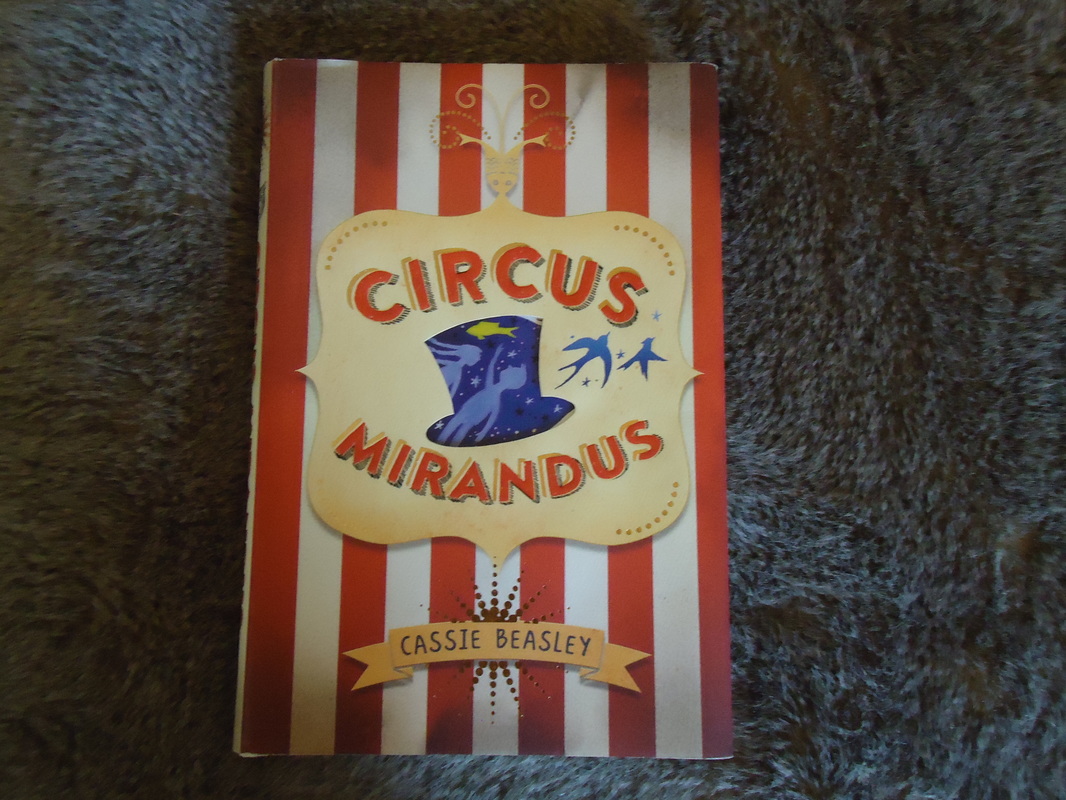 If you've read this book, and if not, please do! Comment down below your favorite thing at the circus. Mine is the elephants and cotton candy!
These are the biggest and yummiest cookies I've ever made! Chewy and sweet, with a soft cinnamon bite, these cookies will be a hit wherever you take them! I took them to a piano recital, and only one was left on the plate! The crowd at home enjoyed them as well. This picture only shows one cookie, because the rest got eaten up so fast I didn't have time to take a picture! 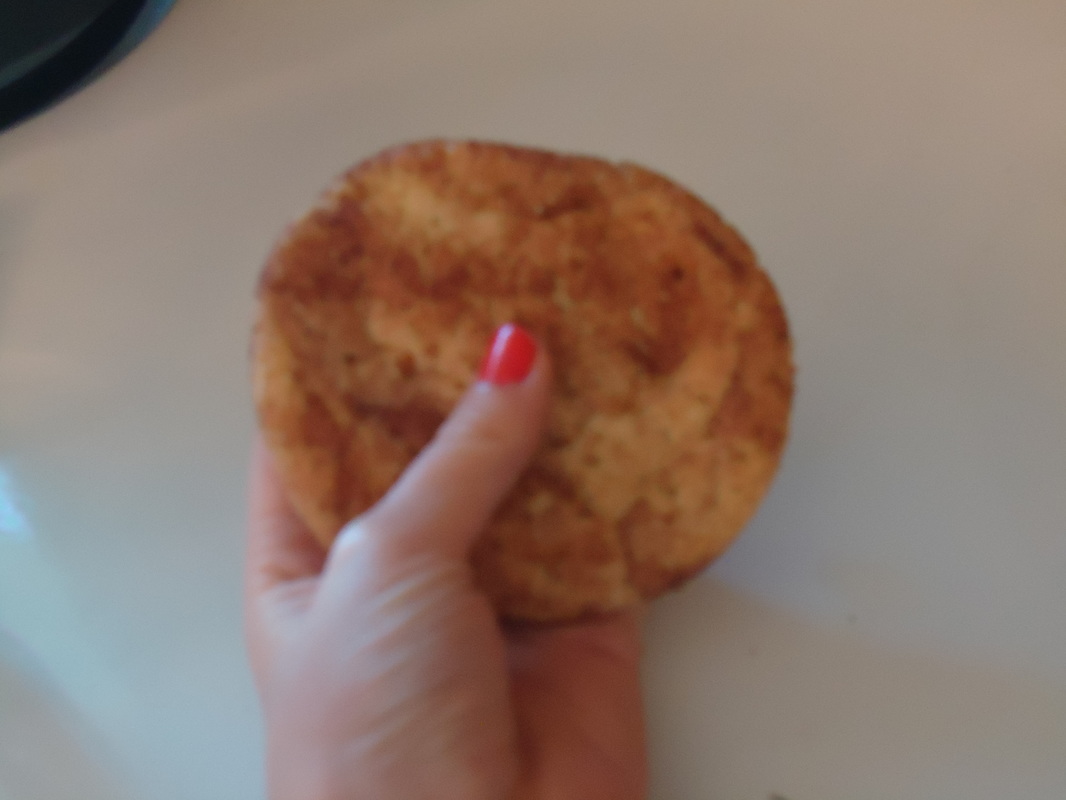 you'll need:2 1/4 cups flour 2 tsp cream of tartar 1 tsp baking soda 1/2 tsp salt 24 Tbs (3 sticks) butter, softened 1 1/2 cups Granulated sugar plus 3 tbs for rolling cookies 2 large eggs 1 tablespoon cinnamon for rolling cookies instructions:Preheat oven to 400 degrees F. Line cookie sheets with parchment paper.
Whisk flour, cream of tartar, baking soda and salt in a medium bowl and set aside. Cream butter and 1 1/2 cups of sugar until combined (preferably with an electric mixer). Add eggs. Beat until combined. Add dry ingredients and beat at low speed until combined. Mix 3 tablespoons of sugar with cinnamon in shallow bowl. Using two tablespoon balls of cookie dough, roll in cinnamon-sugar mixture and place on cookie sheet, spacing them 2-3 inches apart. (they will spread!) Bake 9 to 11 minutes. Let cool. Enjoy with a glass of milk! 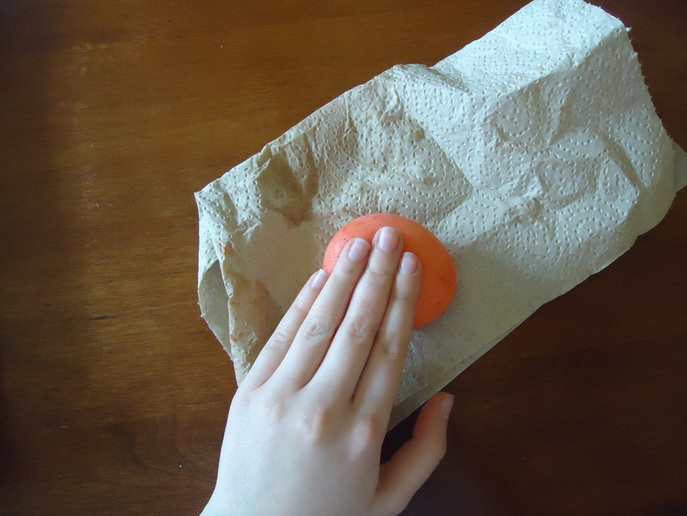 I recently made these totally bizarre squishy eggs! They are so weird, and easy to make. The science behind them is simple: The vinegar dissolves the shell, leaving the membrane (you know, that papery part you see when you crack an egg) to hold it together. And yep, the membrane is not hard like the shell, so the egg is squishy. And you can (Lightly!) bounce it. (On a plate) you need:A raw egg vinegar a jar food coloring (optional) instructions:Carefully place the egg in the jar.
Pour enough vinegar into the jar to completely submerge the egg. Add food coloring. (optional) Wait 12-24 hours. Take the egg out of the jar and play with it! Just be VERY careful! If the membrane breaks, egg is going to go everywhere! Oh, and don't eat the egg after it undergoes this experiment. The egg will last a day or so before it gets gross. Monoprinting is a unique technique for creating one beautiful piece of art. I tried this with my little brother. He loved it! He said he would definitely do it again. 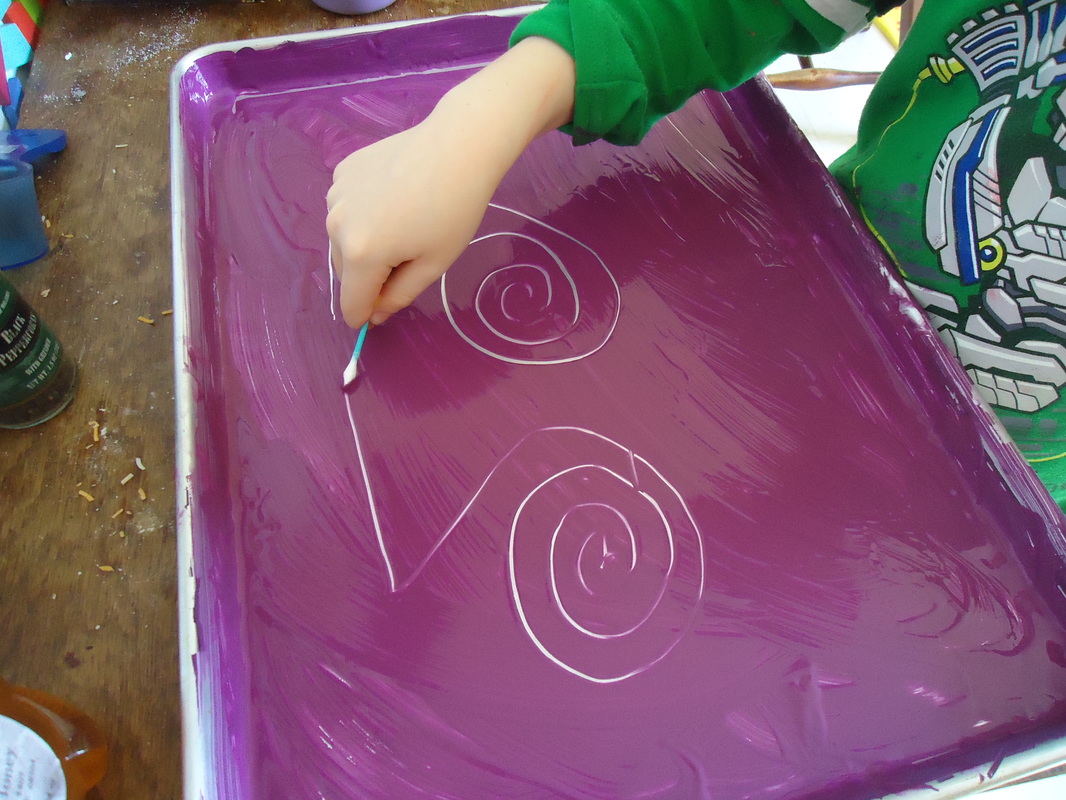 you need:A cookie sheet Tempera paint Q-tips pieces of paper a large paintbrush or paint roller instructions:Pour some paint on the cookie sheet. Spread it evenly with the paintbrush or roller. Use the Q-tips to make a design. Press a piece of paper over the design on the cookie sheet. Carefully peel it off. Let dry. Voila! A pretty piece of art! 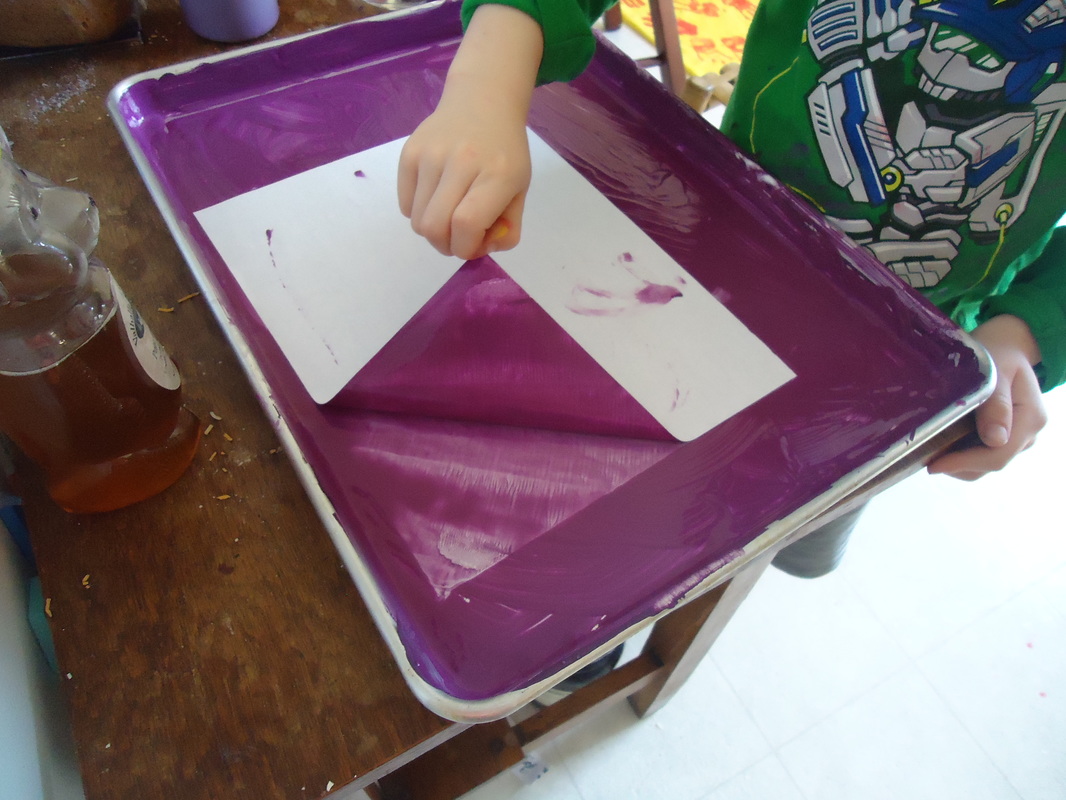 Experimentation:Try making the design with something other than a Q-tip.
Use different paints. I've made these brownies for several events and they have been hastily enjoyed! Equally cakey and fudgy, these tasty treats are a simple, quick dessert that goes good with milk. 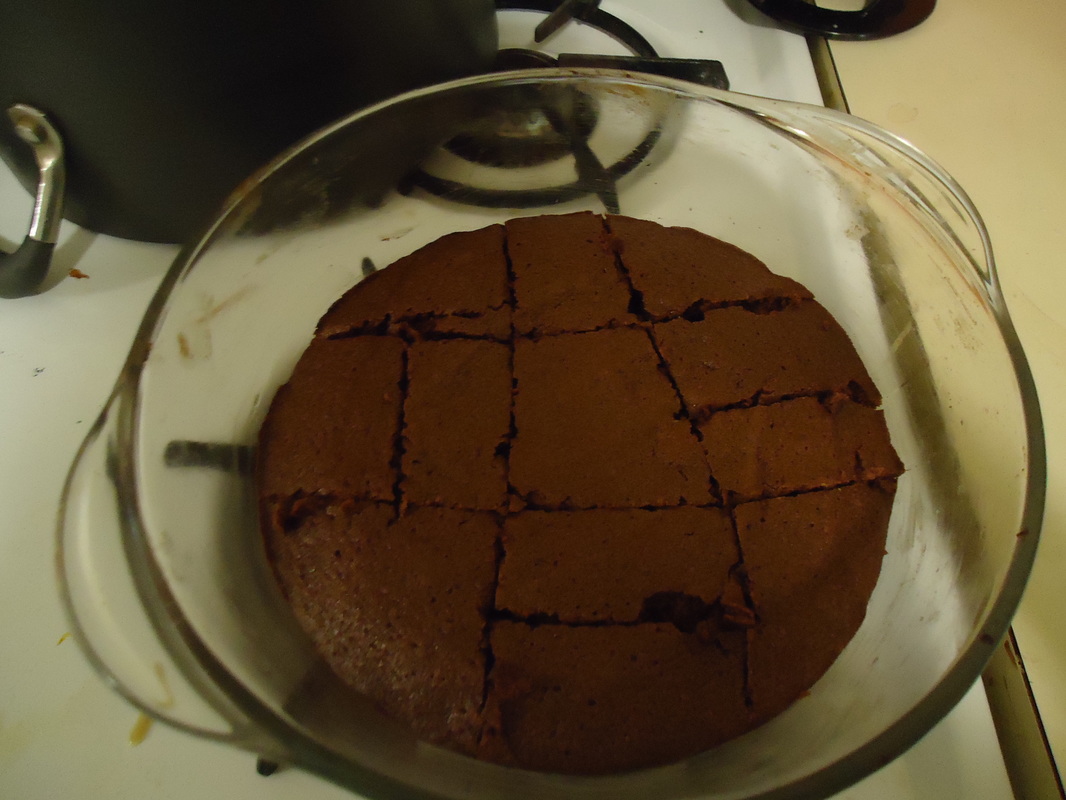 I like to cut brownies into different sizes, so people can choose how much brownie they want. But let me tell ya: they're gonna want more! Oh, and I don't recommend making them in a circular pan. you need:2 oz of unsweetened chocolate 1/3 cup butter (5 tablespoons + 1 teaspoon) 1/2 cup white sugar 1/2 cup brown sugar 2 eggs 1 1/2 tbs milk 3/4 cup flour 1/2 tsp baking powder 1/2 tsp salt 1/2 cup chopped nuts (optional but very much recommended) instructions:Preheat your oven to 350 degrees Fahrenheit.
Grease an 8-inch square pan. Melt chocolate and butter. (Melting the chocolate and butter in the microwave always works best for me.) Beat in the sugars, eggs and milk. Stir in the flour, baking powder, salt, and chopped nuts (if you are using them). Spread in your pan. Bake 30 to 35 minutes. Do not overbake. Cool and cut. Enjoy!!!! 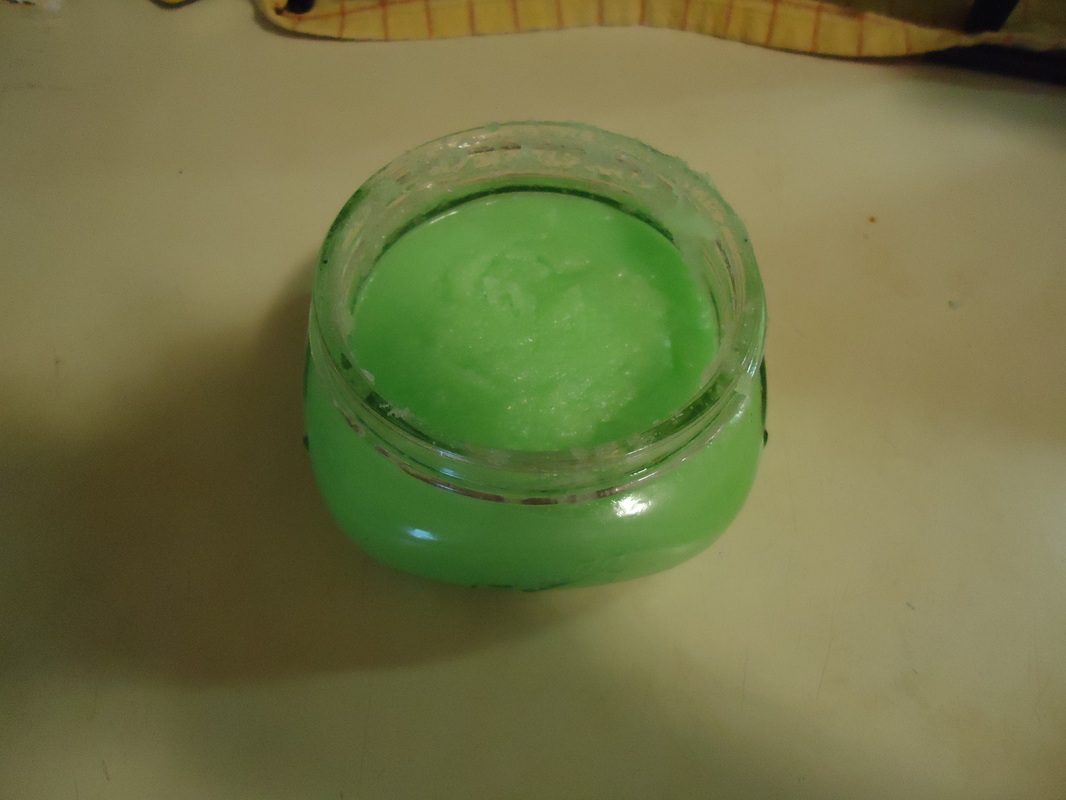 If you're looking for the perfect gift for a friend that is easy and pretty cheap, or have seriously rough hands, this is the blog post you should be reading. It literally takes five minutes to make. On a lot of super-polished professional blogs, there are recipes that say they take a certain amount of time, but they actually take like twenty minutes longer because they are so darn complicated. This is not a super-polished blog. And this recipe does take five minutes. Anyway, here it is. ingredients:1/4 cup coconut oil (any oil will work, but coconut is AMAZING for your skin) 1/2 to 1 cup sugar food coloring (optional) a tablespoon of the extract of your choice (I used peppermint) how to:Soften your coconut oil in the microwave if it is not already soft or melted. (15 seconds would work) Stir in sugar a little at a time until it is your desired consistency. Mix in food coloring and extract. Spoon into a container. (I used one of those shallow mason jars.) Make a cute label if desired. Enjoy or give as a gift! instructions for use:Apply to skin. (a little goes a long way) Rub in. Wash off with water. Enjoy your now super-soft skin!
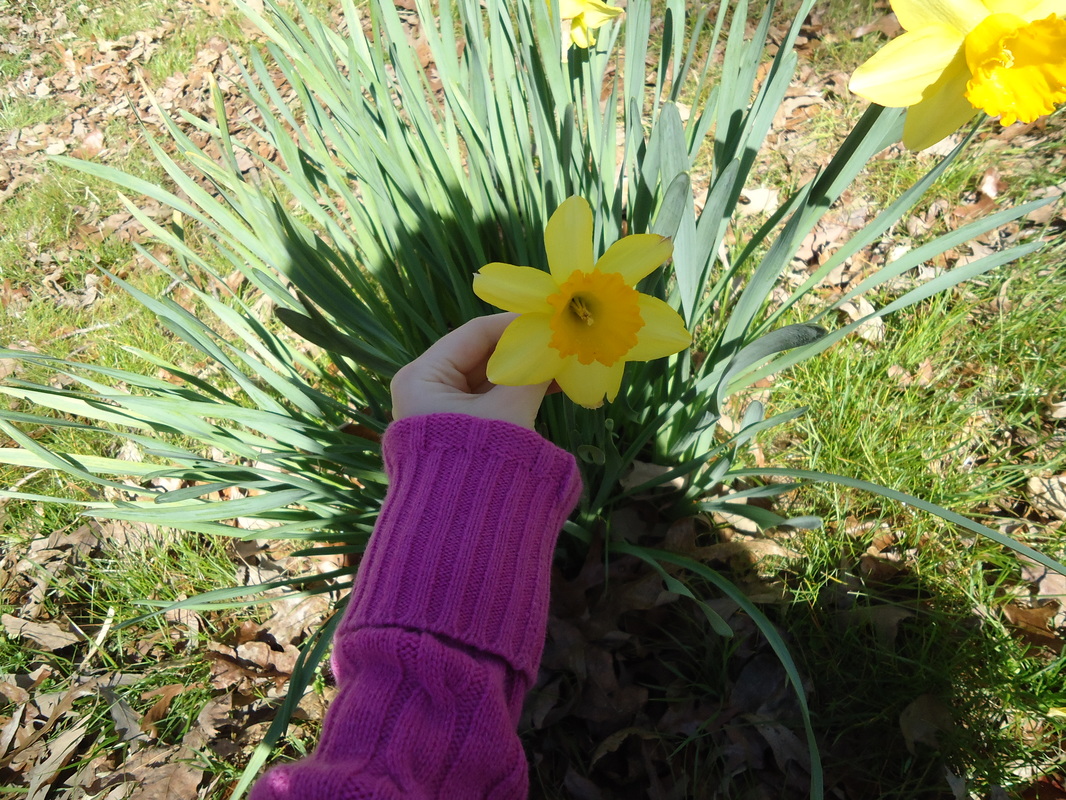 Most people have never heard of it, but let me tell you, it's a beautiful 918 acre paradise tucked away in East Texas, filled with Daffodils.  And here is the story: Mr. T.W. Lee and his wife Helen Lee, were somewhat poor when they were married, but T.W made his way into the oil industry, made lots of money, and bought some land outside of Gladewater, Texas. They planned on using it's plentiful gravel to pave roads, airport runways, and rodeo parking lots. Some of this they did, but them Mr. Lee died in 1954, leaving Helen as his only namesake. Helen converted gravel pits into lakes and ponds, which were stocked with all kinds of wildlife. She bought an entire boxcar full of daffodil bulbs and planted them all over their now 1000 acres. (Helen had bought some adjoining land) Helen died in 1984, leaving her budding paradise to Carolyn Johnson, the current manager, who's grandparents were former workers. Now people from all over the world come and revel in the beauty of Mrs. Lee's Daffodil garden in Gladewater, Texas. You really should visit.  |

Hi there!I am a homeschooler who loves to do DIY projects, make new recipes, grow plants and discuss interesting stuff. Archives
September 2018
If you like my blog, copy and paste my button to yours!
 |
